Ive seen this picture pop up a couple of times on facebook groups, which depicts the daily Wolverhampton to Great Malvern pigeon train at Brierley Hill. Theres a couple of things I like, the Eastern Region BG and the big loco on a single van. Given that Brettell Road is set in the late 50s I am aware that I don’t have any BR steam locos, more on this aspect in a future post.
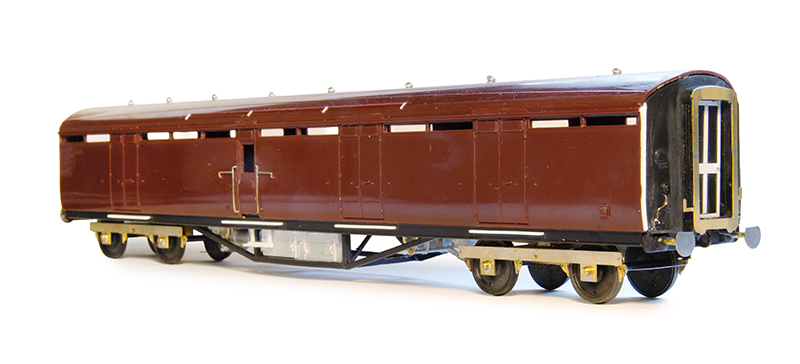
The picture features a Gresley BG but having done a little research it appears that the Hornby one, although nice on first inspection has some issues with the shape. So I went with an old Bachmann Thompson version instead. These also have issues with the shape as the roof had a bit of harsh angle on the sides but thats a relatively easy fix with a file. Underframe details are from MJT, bogies Brassmasters 8ft versions and the gangways are from Wizard models. The buffers are MJT as well being cut down 18 inch heads mounted on bit of tube to thicken up and lengthen the shanks. The cosmetic bogie sides (which I was waiting on when I took this image are again from MJT. The Bachmann ones seem a bit of a weird wheelbase for some reason.
 Another slight advantage of doing this coach is I can substitute it for a Midland BG on my milk train and make it a little more eastern region for when I get to play with North Elmham.
 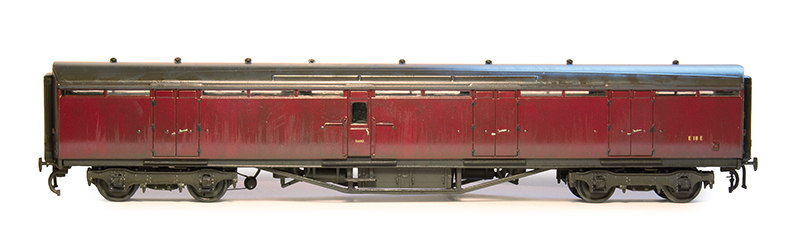 Eagle eyed readers might spot the screw coupling on the one end. These coaches didn’t have them but anyone who has tried to couple a loco coupling to a coach with gangways at an exhibition will tell you that it’s nigh on impossible so in this case it’s a necessary compromise.
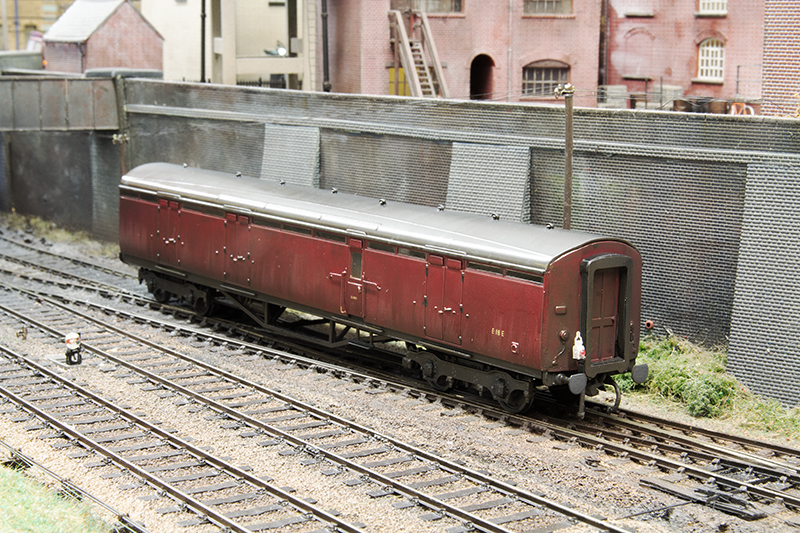
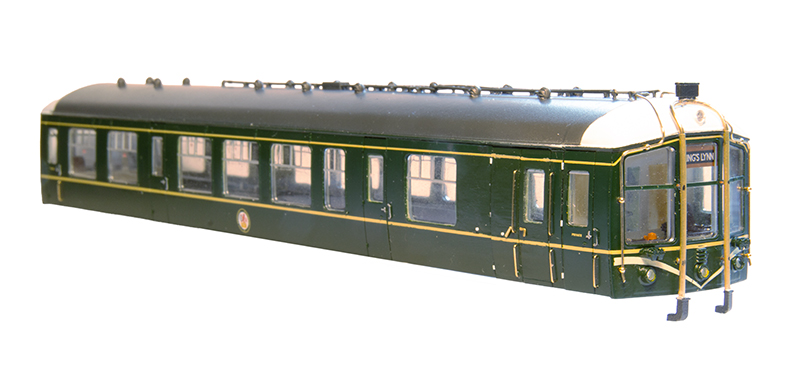 Speaking of North Elmham Tim mentioned that he liked the idea of a single car Derby lightweight. So given he knows I quite enjoy chopping DMUS about and having been suppled with a Bachmann 2 car set Ive come up with this. I wanted to avoid repainting it and found where i did need to revisit the green, Pheonix Precision BR logo green (post 1954) is an exact match.
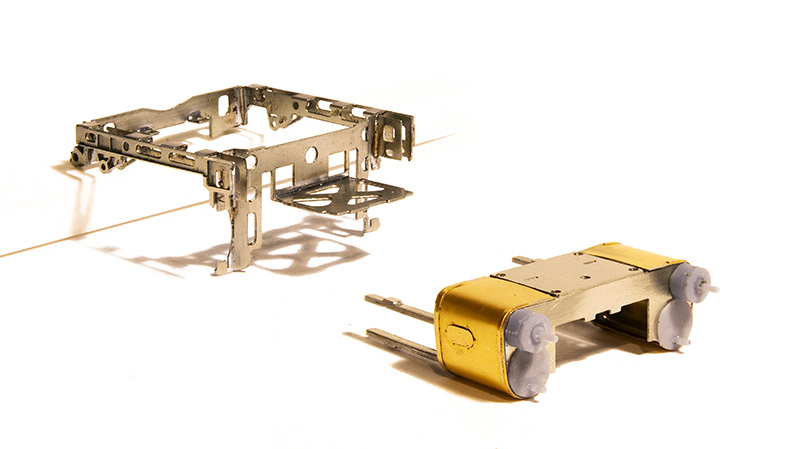
 The Bachmann drive arrangement is pretty big and chunky on these. In a regular Derby lightweight you can sort of get away with it as it only really protruded as far as the last passenger door. On the single car with its extra window it would be way to obvious so a Hight Level Kits Lo-rider power bogie has been used instead. As North Elmham is set in the daytime Tim didn’t need the lighting so that was all removed.
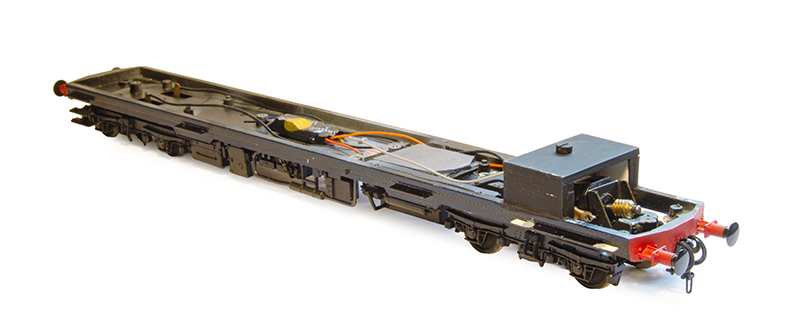
 You can see from tis image why the original drive arrangement had to go. I used a slightly lighter underframe colour that usual as North Elmham isn’t set in the rain.

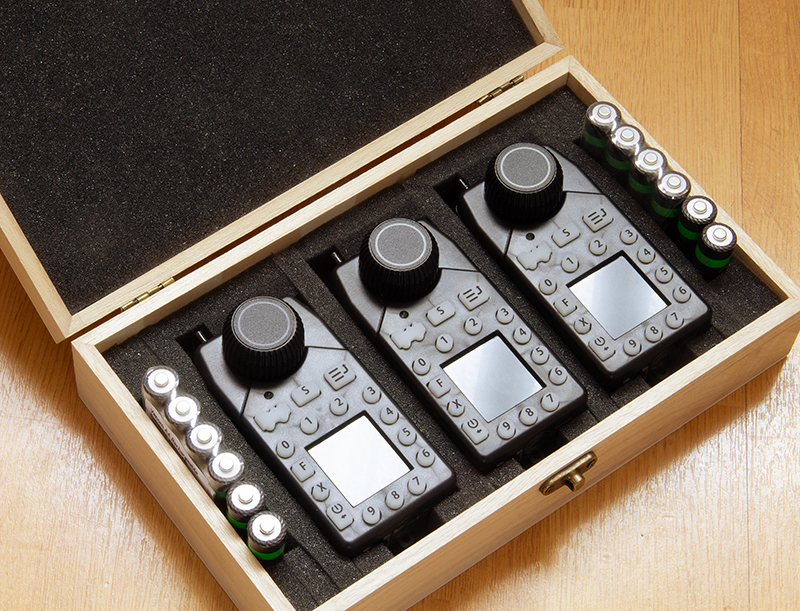
 At Macclesfield the chaps from WFRM kindly let me borrow one of their Digitrax UT6 utility throttles and I was very quickly sold on the idea of them (Thanks again guys). On the left one of the DT402 throttles I was using and the UT6 is on the right. The 402 has 2 throttles per handset and while this is a good thing, in the reality of an exhibition you don’t really use them much and if you do you can easily end up driving the wrong loco. The other thing about the 4o2 is after a while the buttons get a bit sticky and they use 9v batteries which these days are not cheap. I found that one battery would last 1 day, roughly speaking, per throttle. The guys at WFRM confidently say that the 3 AA’s the UT6 uses will happily last a whole exhibition. I’ll find out at Stafford in September. The UT6 fits nicely in the hand and comes with a lanyard so you don’t drop them, yes I have dropped the DT402’s in the past – thankfully without damage! You can’t do everything on the UT6 that you can on the DT402, so they aren’t completely redundant but you can do everything you would expect to have to do at an exhibition.
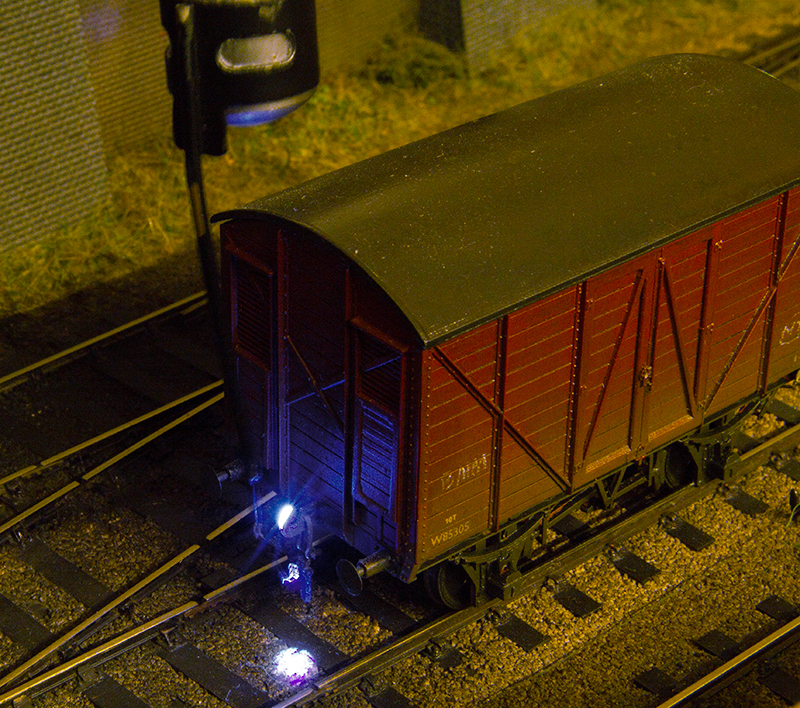 I ended up using a somewhat expensive laser UV torch which worked quite well if everything was set up perfectly. In reality though, because the light is so small, one slight ding on the coupling hook and you couldn’t see it anymore to pick up the links. Also the eye strain over 2 days was quite noticeable. Phil never really got on with it and I found myself reverting to the much cheaper pen torches that I also took along to shows.
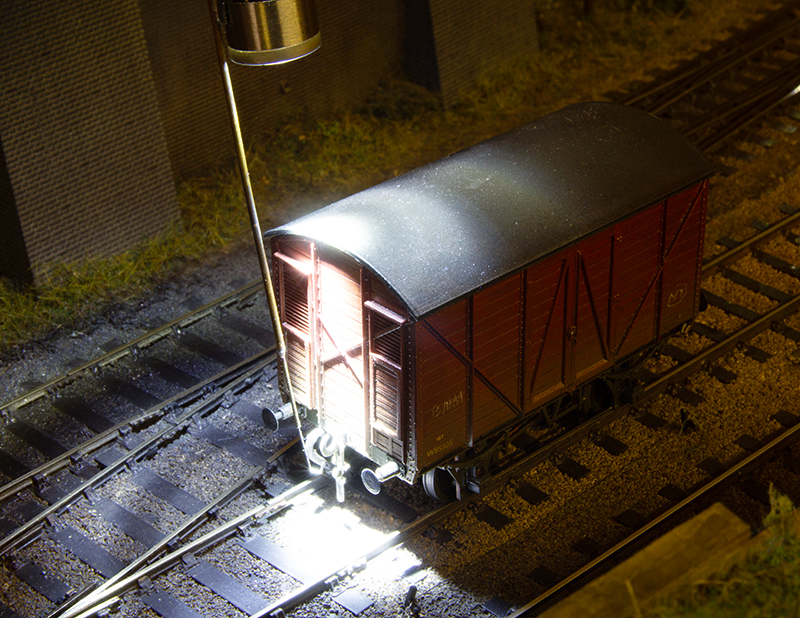 A lot of talk is had on forums and social media groups of the “hand of god” and how unrealistic it is. However experience shows that people are generally quite fascinated by the coupling up process. I wonder if it’s because of the darkness? I still feel that the cheapo pen torches chuck out too much light though and given that when operating (and viewing the layout hopefully) your eyes adjust to the gloom it can take a moment to re-adjust back after coupling something up.
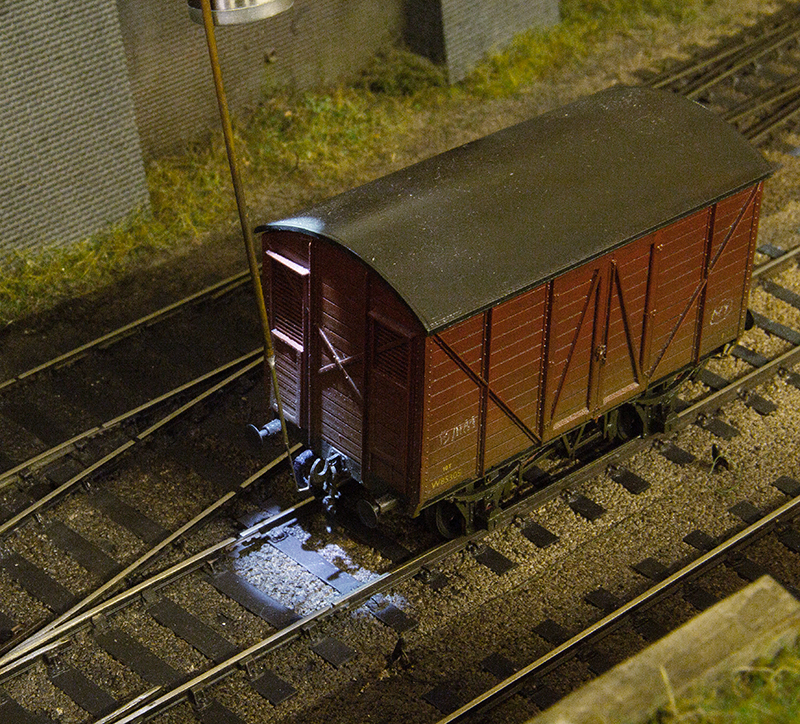 The low tec’ solution is a simple rubber washer and a 2mm brass washer to drop the intensity and size of the light down. Again Stafford exhibition will be a test for the new approach.
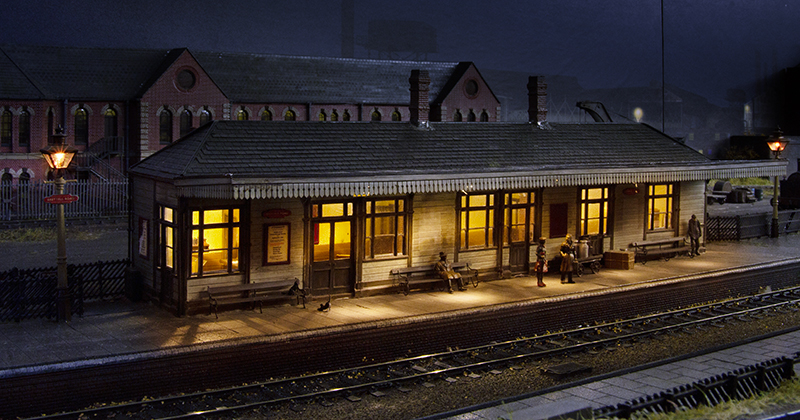
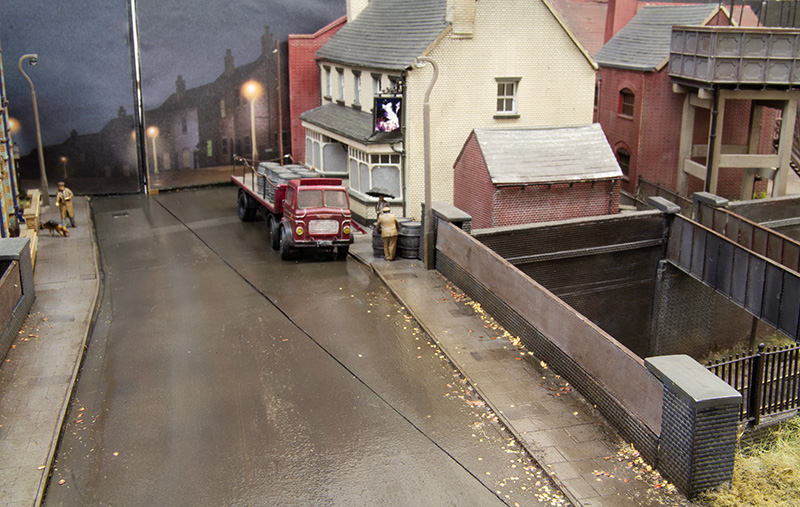
 Last weekend we had a great outing to the Macclesfield Show with Brettell Road. A good time was had by all and the layout performed very well. Above picture ©Tim Horn and used with permission.
 Finally a recurring problem. At the first show we did with the layout in its current form some of the captive nuts that are used to hold the roof uprights in place bound up and we couldn’t get the uprights off. Since then I ran a tap through them and they have been fine but last weekend one bound up again. Luckily the design of the uprights meant they could be taken apart and the offending upright taped to the board to be dealt with at home. The captive nuts have been relocated to the bin and I will use wingnuts going forward.
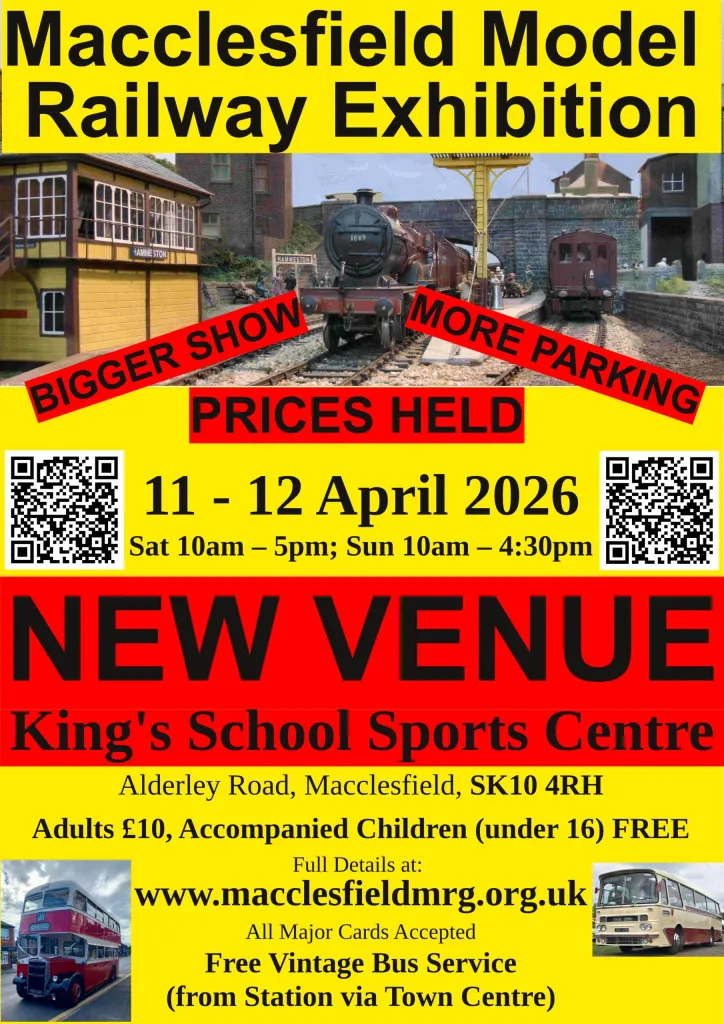 In just under a month Brettell Road will be making its first outing of 2026 to the Macclesfield exhibition. For more info
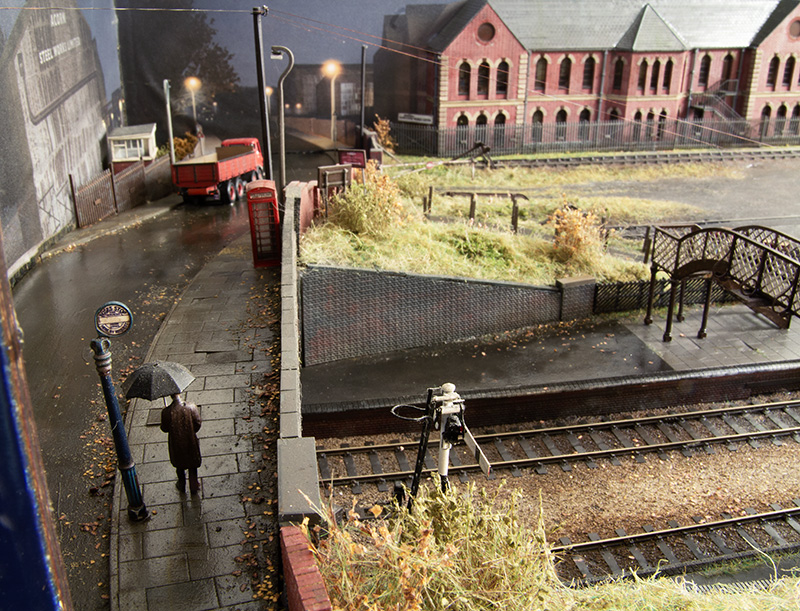
 This is the central bridge and Ice assumed that there are more tress behind me. Again with a bias toward the leaves being blown from the left. Im not sure if they look a little bright here (no idea why as its the same technique using the same stuff) but next time I am weathering some underframes I might give a very light coat of dark mud to tone them down a little.
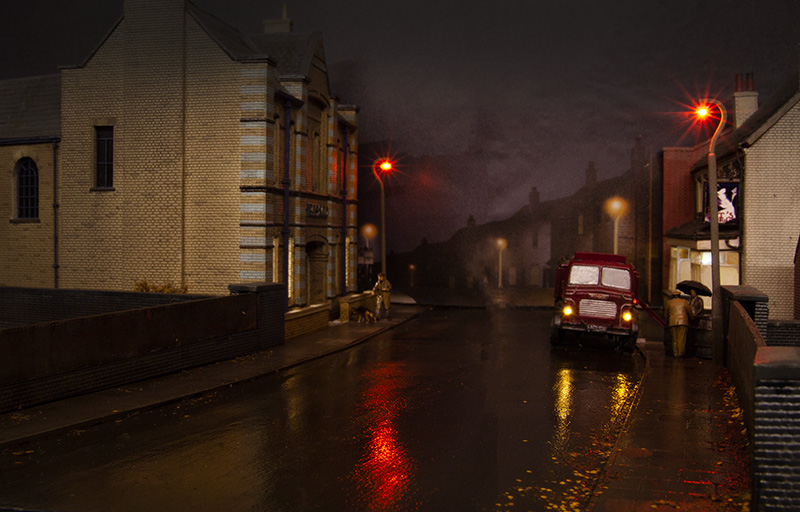 The same scene as above in a more intentional lighting.
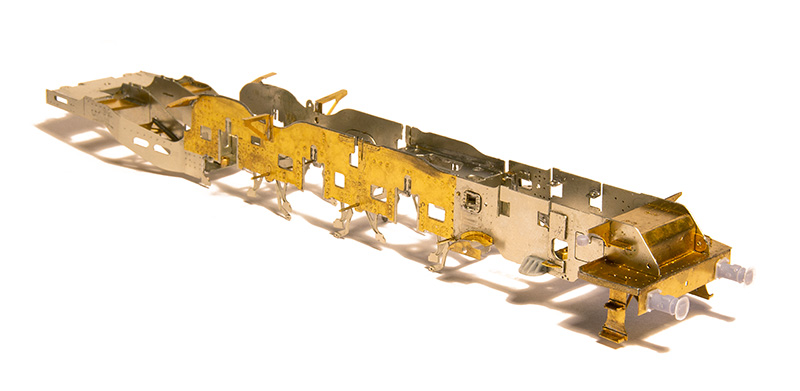
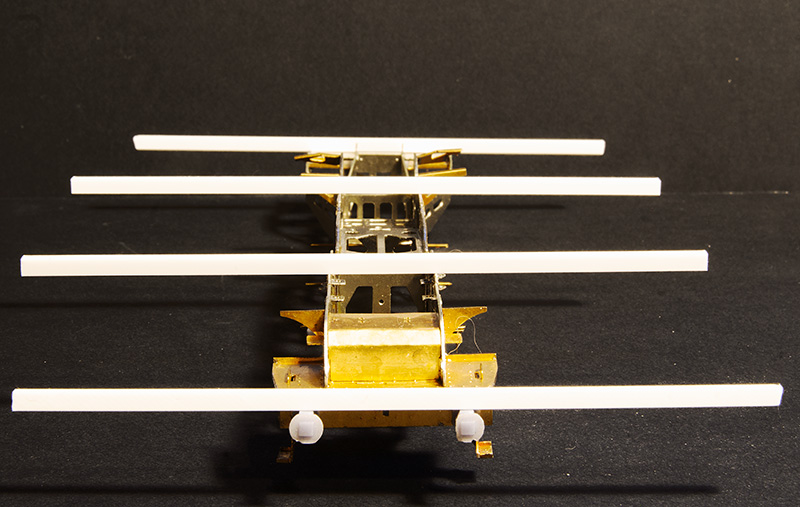 On a simple set of loco frames such as an 0-6-0 loco where the sides are mirrors of each other you can easily check everything is square by popping them on a bit of glass and see if they rock. If they don’t you are all good. On a larger set of frames thats made up of sub assemblies, not all of which are the same height you need another way and the easiest Ive found is to use a few chunky bits of evergreen strip and see if everything looks parallel when viewed end on. Things can then be tweaked and when reasonably happy the heights of the ends measured from the surface to check each side matches. The above image shows my start point.
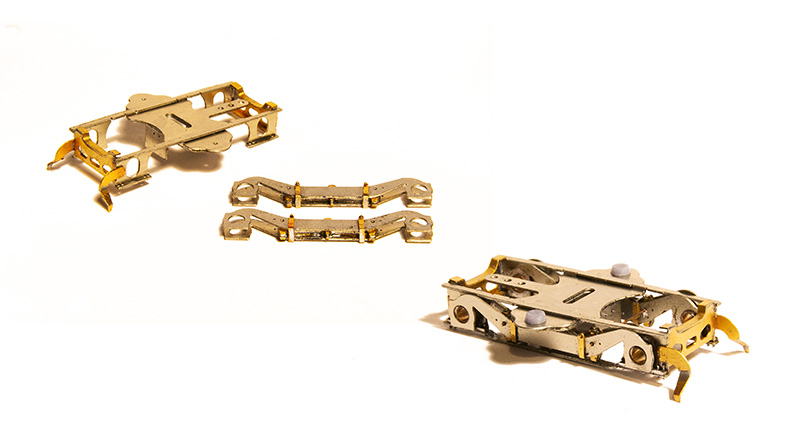
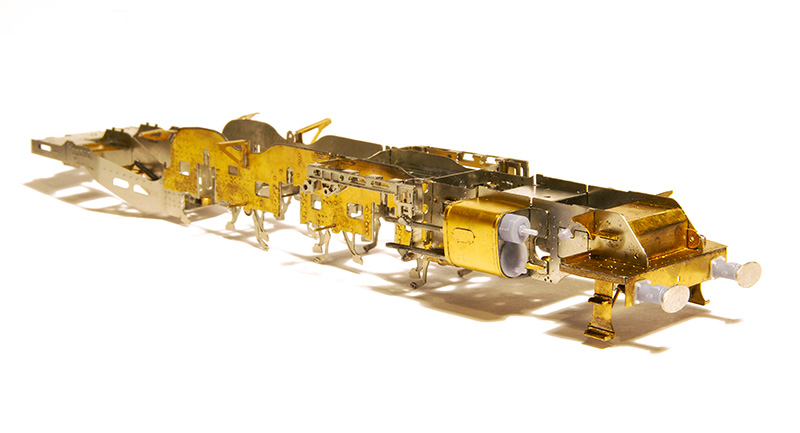 And assembled onto the frames.
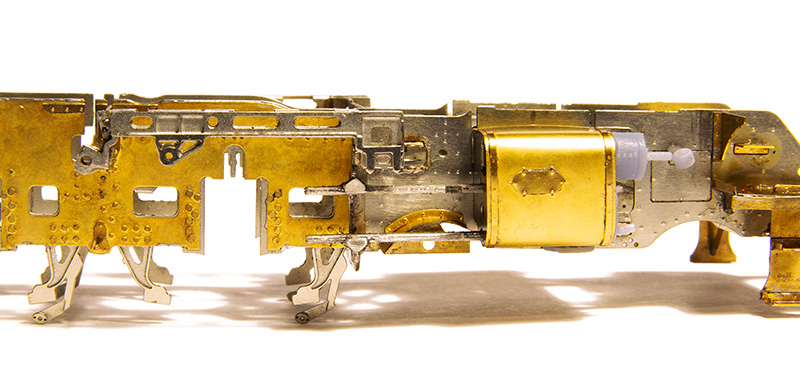

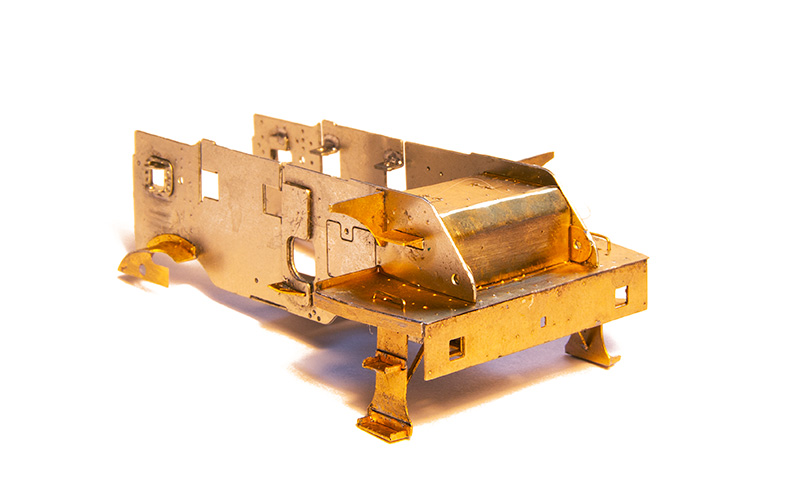 The front frames. Although it wasn’t apparent on the first build the frame spacers on this but where all a bit messed up resulting in a front frame that wasn’t exactly square. This has been rectified.
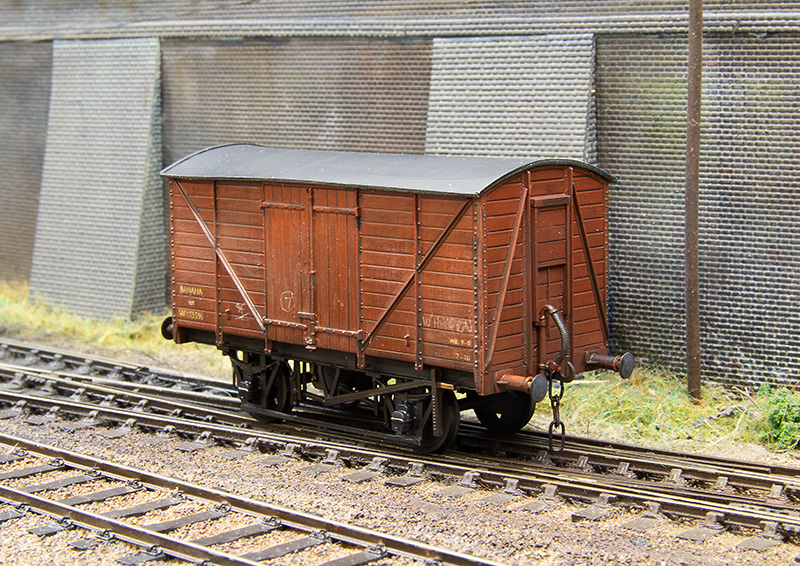
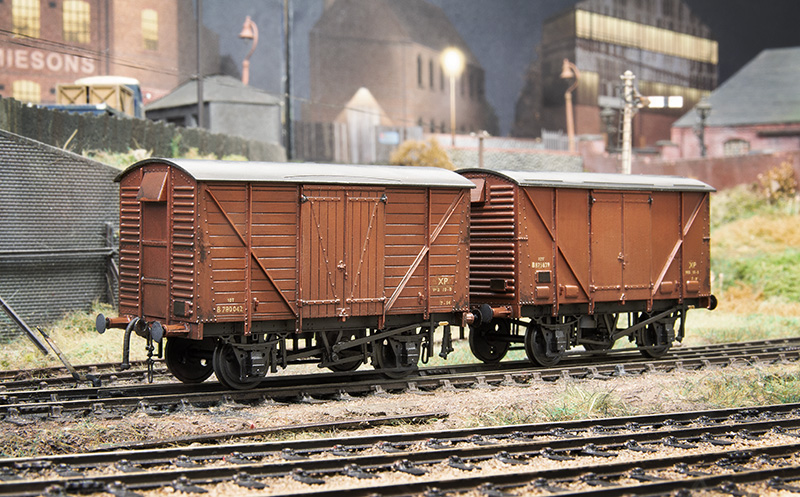 My somewhat hopeless addiction to building kits continues, I passed the point of having enough a long long time ago but there you go. This time all variations on types I’ve built before. Starting with the classic Airfix meat van. Or in this case just the ends of one and even then only part of the ends! Some meat vans lost their side vents and all but the top end vent. The Airfix ends are kinda chunky and can easily take having sections of them cut out and replaced with bits of plasticard. The rest of the van is all Parkside. Behind it is a standard Parkside plywood sided kit built as a fruit version.
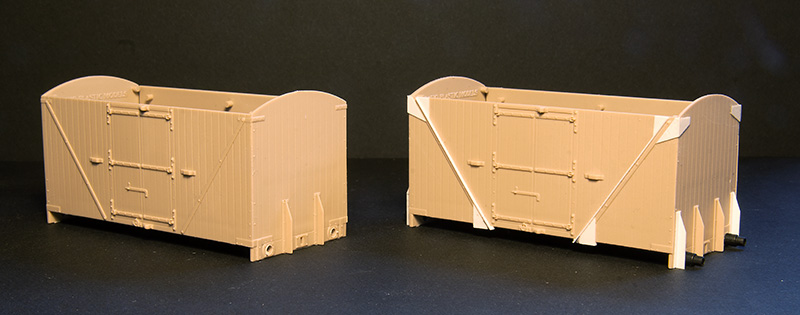
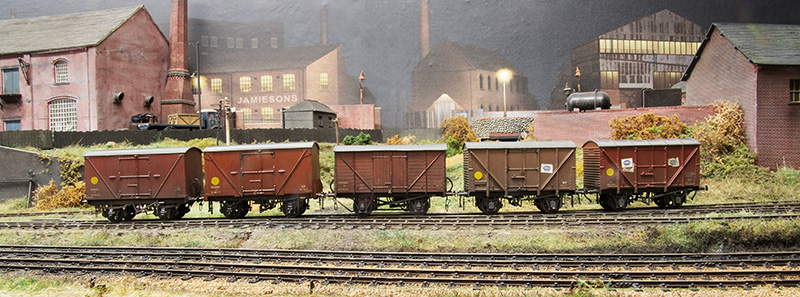
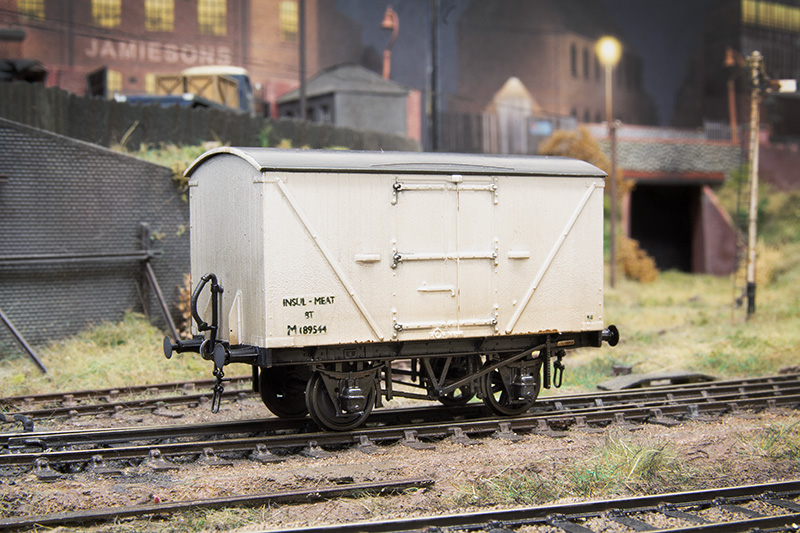 The first body was mated with a 9ft wheelbase chassis (stretched at the ends to fit) to produce a ex-LMS D1672 insulated meat van. By the time these were in BR service they lost the modifications that made them interresting. Those being roof mounted ice boxes and end ladders. Note the different wheels as per the prototype image in LMS wagons volume 1.
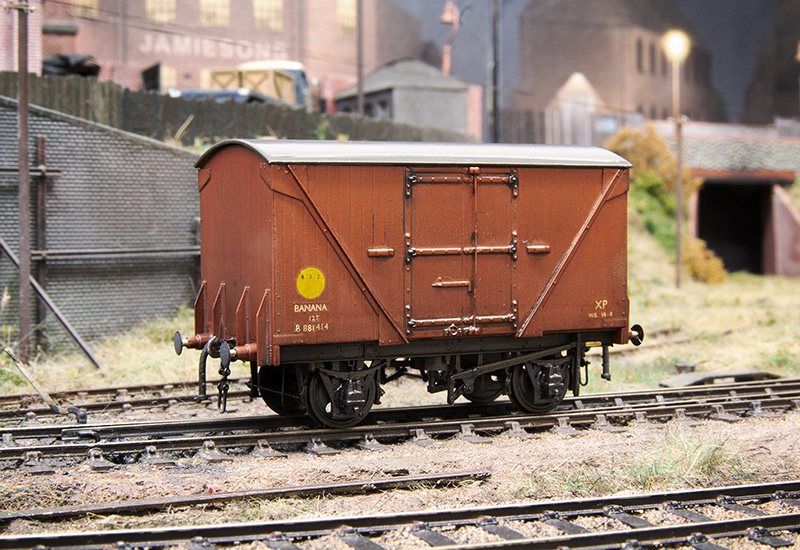 And the Diagram 1/224 version. Mounted on a detailed Red Panda chassis. Im just waiting for my friend to supply me some flexible steam heat hoses.
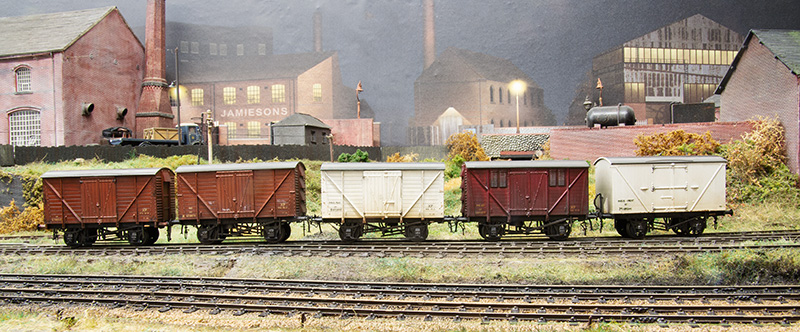
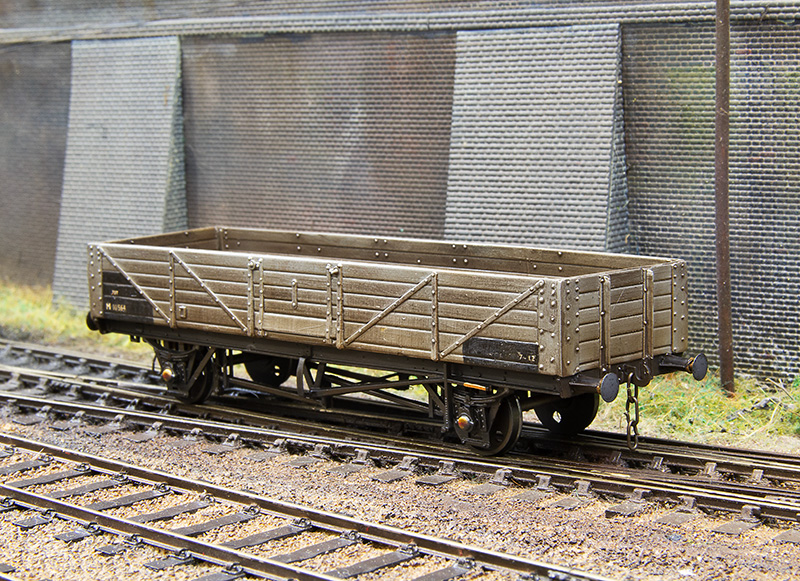
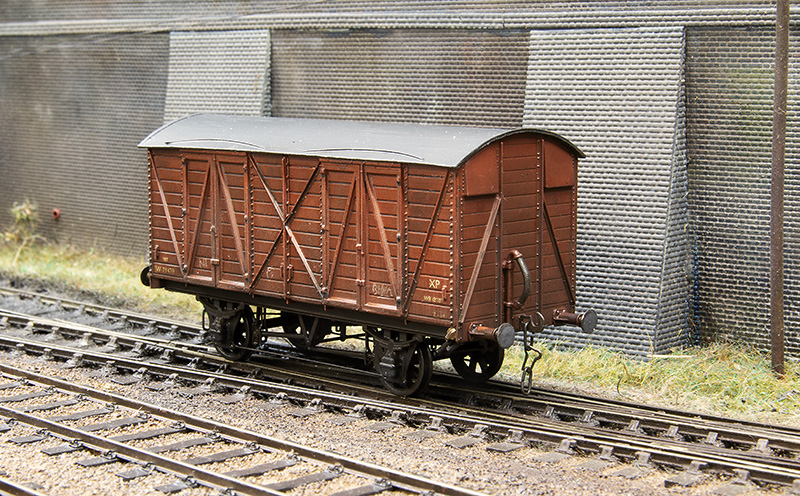 Next up another Ian Kirk kit, this time for the GWR mink C. I used the ends from the Ratio GWR 12t van kit, the ones in the kit had end vents and looked too narrow to me. I’ve added extra details to the body and underframe. Being on a 12ft wb underframe it’s something a little different.