
On to the 66xx body then. 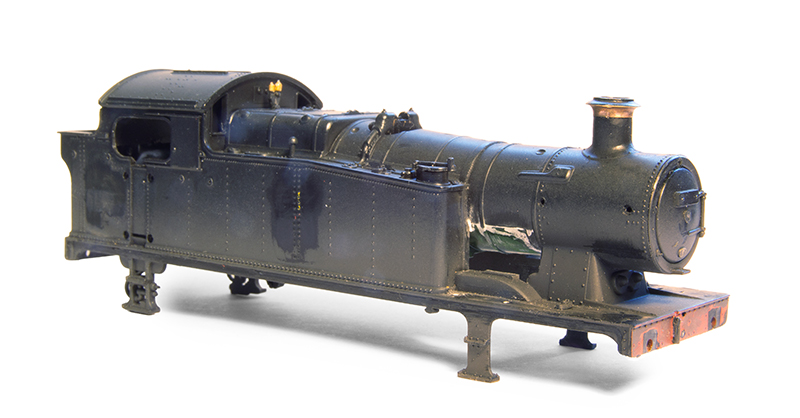 As with any detailing project involving RTR start points, the first stage is somewhat destructive. As supplied the model comes with separate handrails but I didn’t like the handrail knobs and those around the bunker were the same thickness as the others. Looking at pictures of the real locos they looked thiner to me so all of the handrails were removed. Something I may not have spotted but it is mentioned in the instructions for the High Level chassis is the bufferbeams are too deep. This is a RTR compromise because in order to not make the front splashers too big and to accommodate 00 flanges Bachmann have moved the whole body up and adjusted the bufferbeam and the position of the buffers to get the buffer height right. So 1mm was removed from the bottom of both buffer beams. The safety valve bonnet isn’t too bad but it’s the tall type and my prototype had a smaller one. The original one just pulls off. I’ve thinned the edges of the front steps and the rear edges of the cab side opening. The front edge on the real locos is quite chunky so I’ve left that as supplied. The pipes on the footplate have been carved off and I thought the axlebox lubricators were far too big and clumsy so I’ve cut them off. Finally the lower boiler section (which is also a weight) has been fitted and blended in with filler.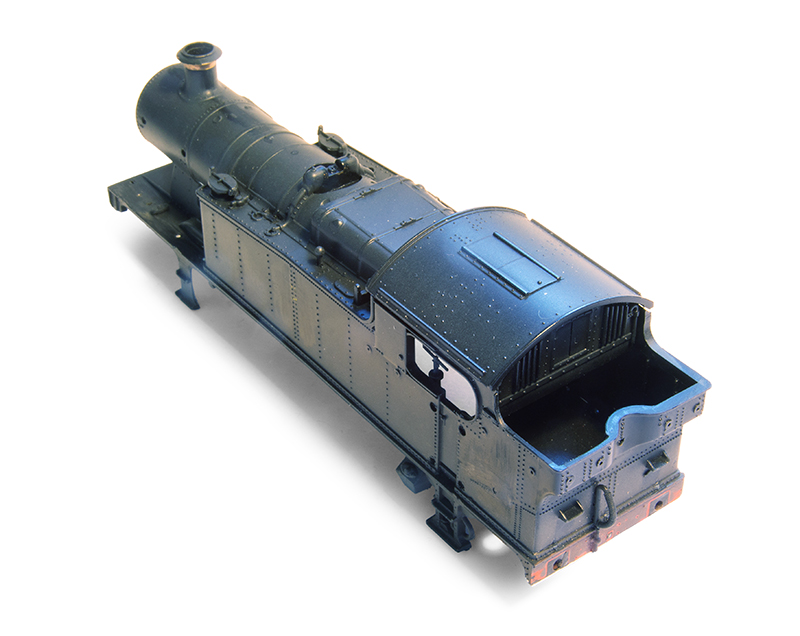
The edge of the bunker is really chunky too so I’ve thinned that down as well. The original is on the right side Also I’ve removed al the lamp irons from the rear bunker. 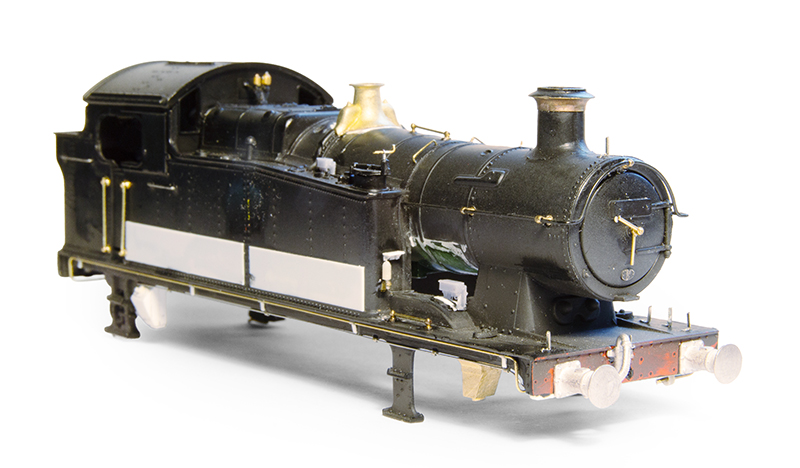 On to the rebuild. Buffers are my last ever packet of Lanarkshire Models one. The front sandboxes are included in the chassis kit and the rear one on this side was missing from my body so I filled a new one up from plastic strip using the one on the other side as a guide. I re-used the original front handrail in finer knobs as I figured why not, plus I probably would mess up the shape bending my own. The axlebox fillers are spares from the Brassmasters Duchess test parts.
My prototype had replacement lower panels on the tanks and these were added from some very thin plasticard. As always work from a photo of the actual loco in the time you want to model it as these are extremely variable. The lower fine pipe on the footplate is part of the AWS system and the routing of this is highly variable among the fleet too. There will be more on the AWS in the next post.
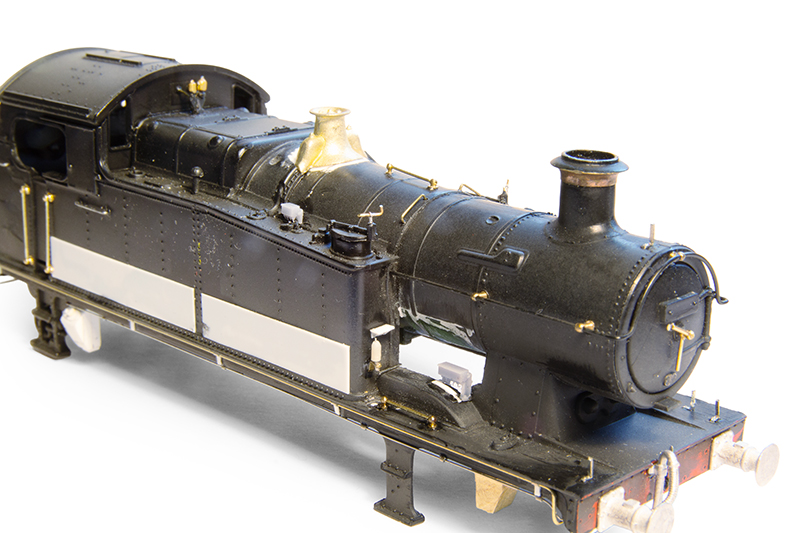 Moving in for a closer look. I felt the handrails above the steps were too long so adjusted those. The steps on the front of the tank were missing as was the filler for the vacuum pump. The angled handrails were also missing as were the handles for the tank fillers. The safety valve bonnet is from Alan Gibson. Still to add at this stage are the sandbox operating linkages. I have some on order from RT models to see if I can use those.
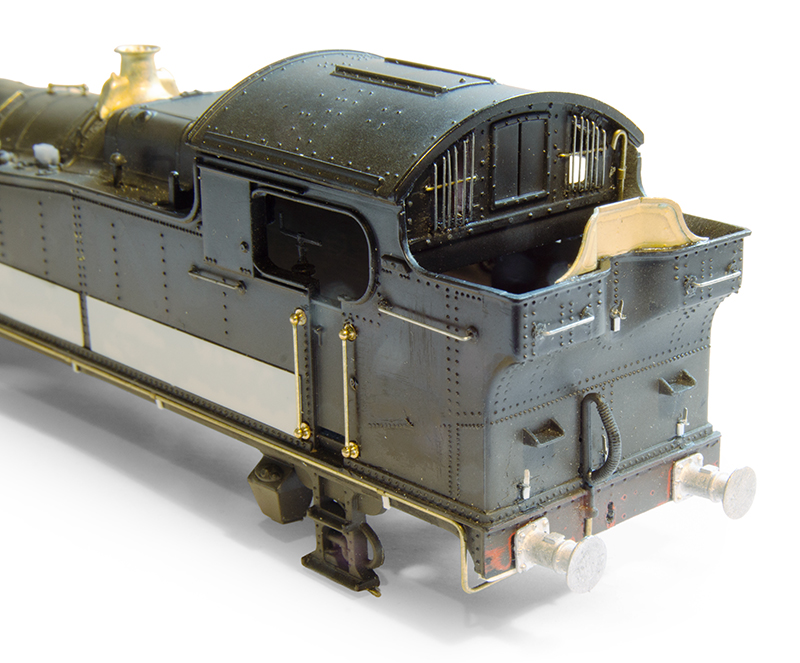 Rear of the cab. I replaced the window bars with wire and the coal space shield comes from the brassmasters 42xx detailing etch Lamp irons are from RT models and as stated before check your prototype as their position varies.
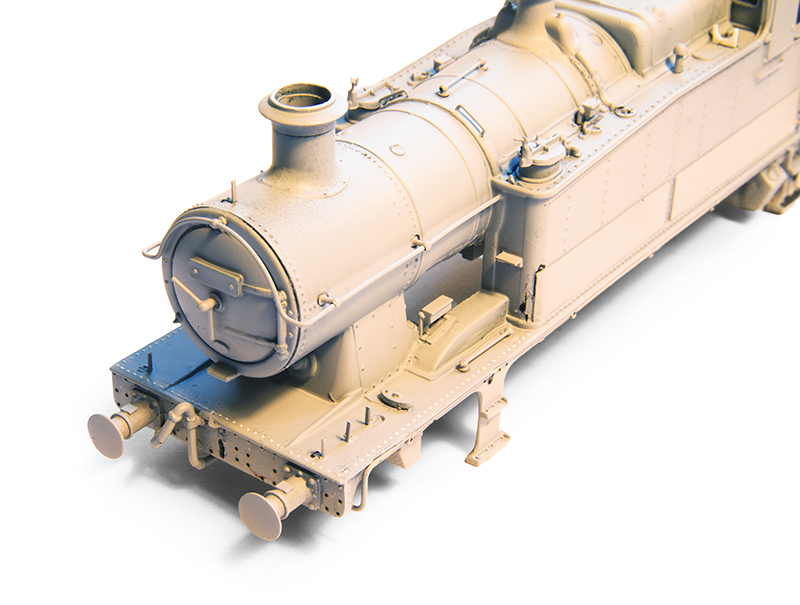 So a waft of primer and the missing rivets have been applied from Archers and Realtec models.
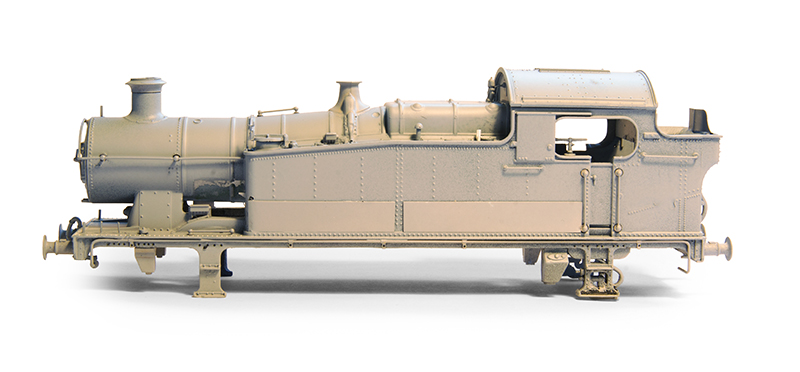
Next – Paint and finishing off.