 With the point rodding redone and signal wires back in place theres not really anything left to do on Brettell Road part 1. I was hoping to embrace the latest technology with the rodding and decided to go with 3d printed BR stools from Modelu. However those didn’t work out for me at all and proved to be far too fragile. Ive sent them all back and Alan is going to investigate as he believes there was a problem with the resin. I’ll do a follow up post when he comes back with his findings. So as the old adage goes, sometimes its best to stick with what you know I went back to the trusty Brassmasters etched ones instead.
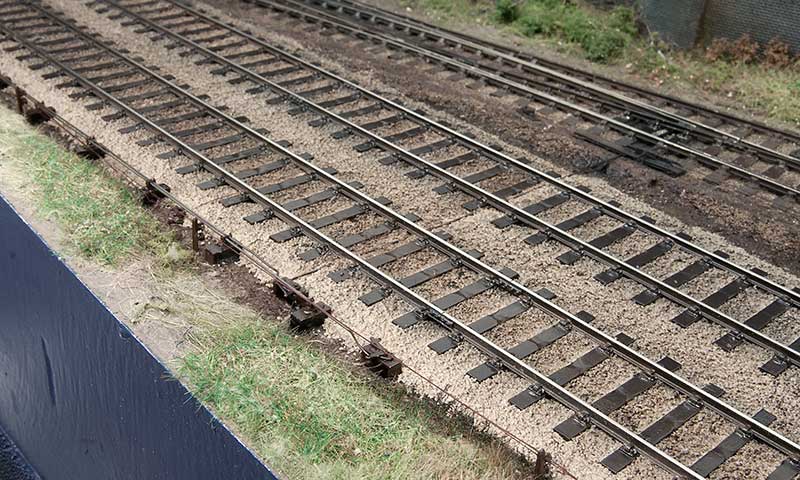 The cranks are also Brassmasters although I’ve used the MSE bases as I thought they were better. The rodding itself and signal posts are also from MSE with the signal wires from ezline. Unlike the previous version where I made some of the point rodding work, just to see if i could, I didn’t feel any need to to it again.
 A few more detectors for the ground signals were knocked up from bits of brass and my rain technique of coats of Tamiya smoke and AK wet effects fluid reapplied. I guess you could say I’m back to where I was a few months ago!
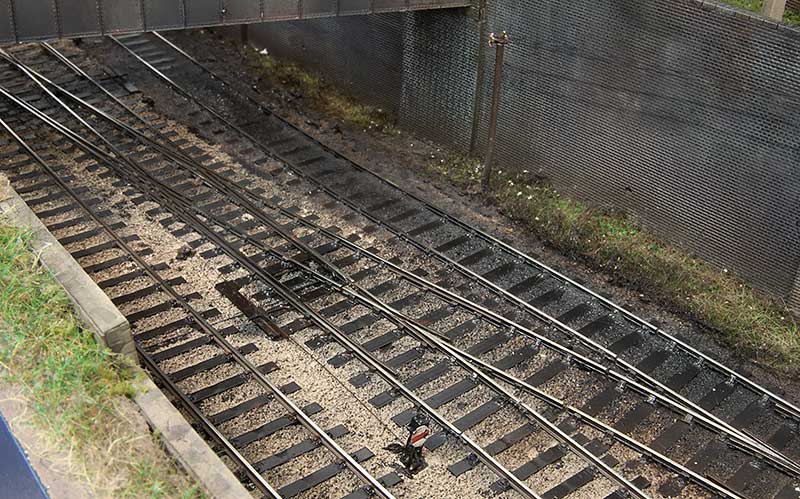
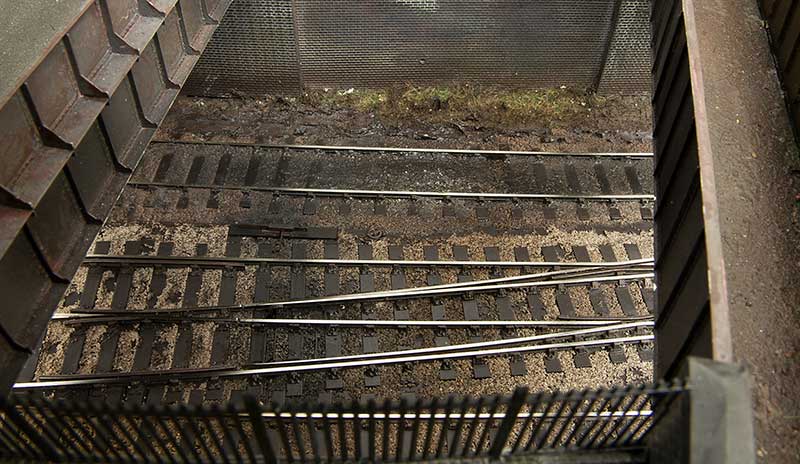 Theres something oh so familiar about glimpses of grubby track between bridges and retaining walls.
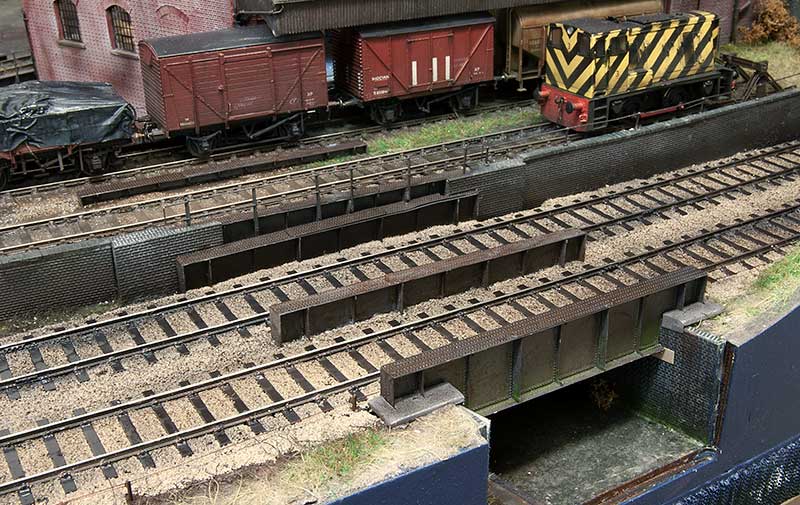 At the other end of the layout the extra bits of the bridges have been added.
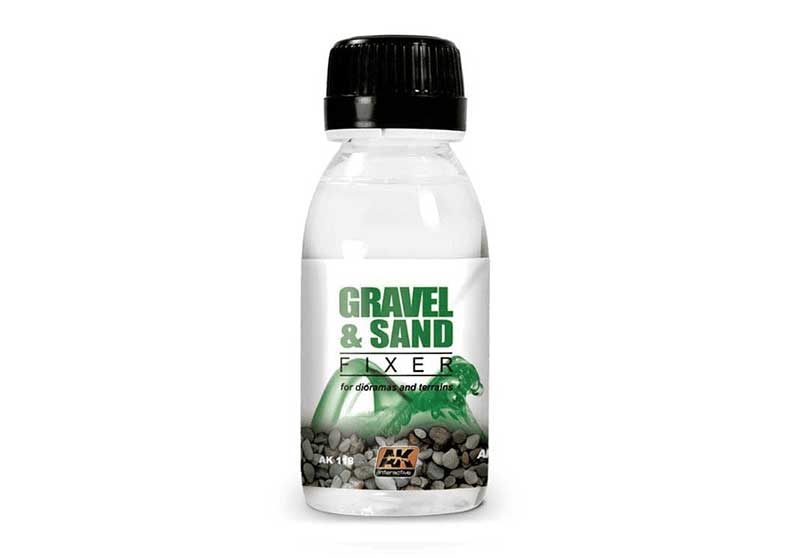 One thing I forgot to mention before is this stuff. Its great for fixing ballast and while its no where near as cheap as the traditional PVA/ water/ washing up liquid concoction it can be used straight from the bottle with no messing around wetting everything first.