Duchess progress March 2025
Some progress to report on the Duchess test build.
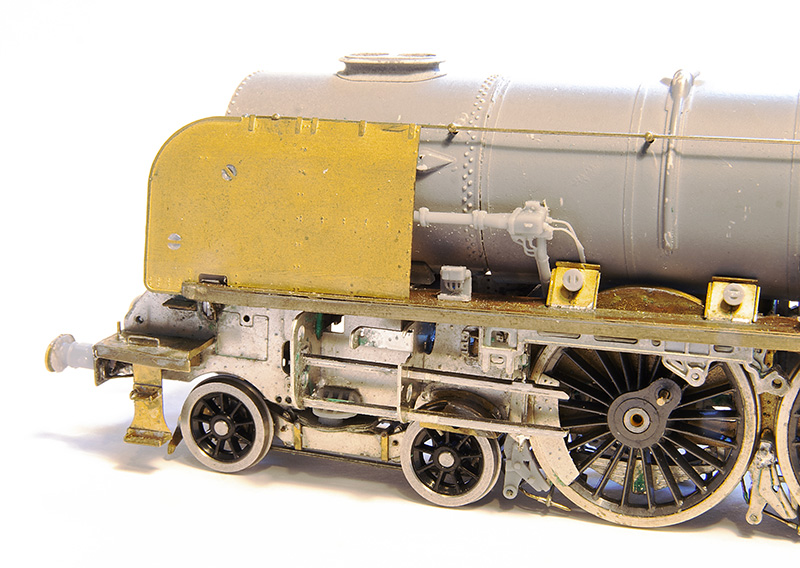
The original design that Geoff did for the cylinders was the same as the 7mm scale Finney kit. That uses cast slide bars soldered to the rear edge of the cylinder frame. In 4mm scale that wasn’t going to work so David has redesigned this area to use a layered etch that goes through the rear face and solders to the front. This will be much stronger.
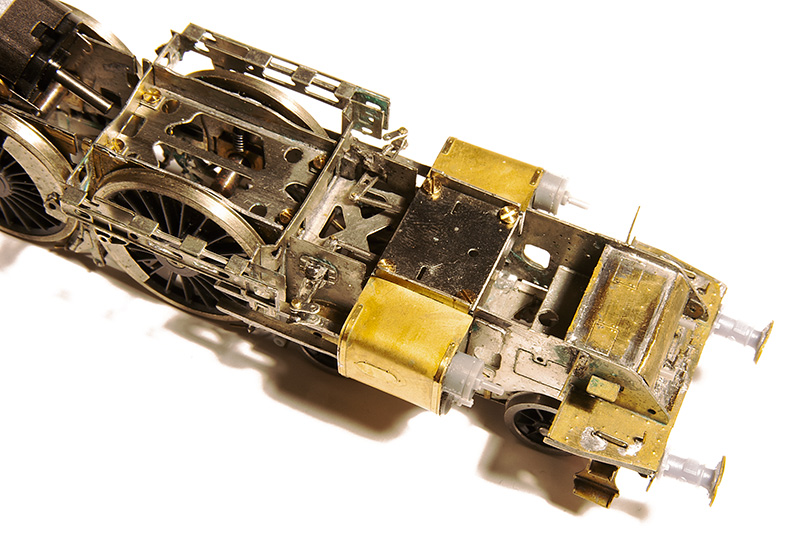 The cylinders viewed from above with the wrappers in place. Just behind the cylinders are the Valve rocking arms which as they need to be removable are held in place with a small screw.

Theres a lot of piping on the footplate of a Duchess! 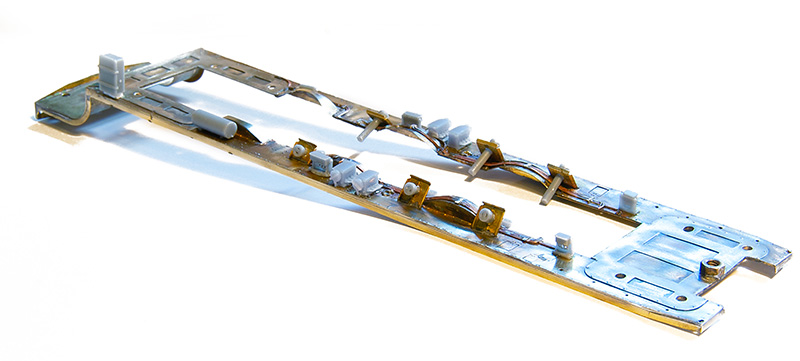
The footplate is pretty much complete now.
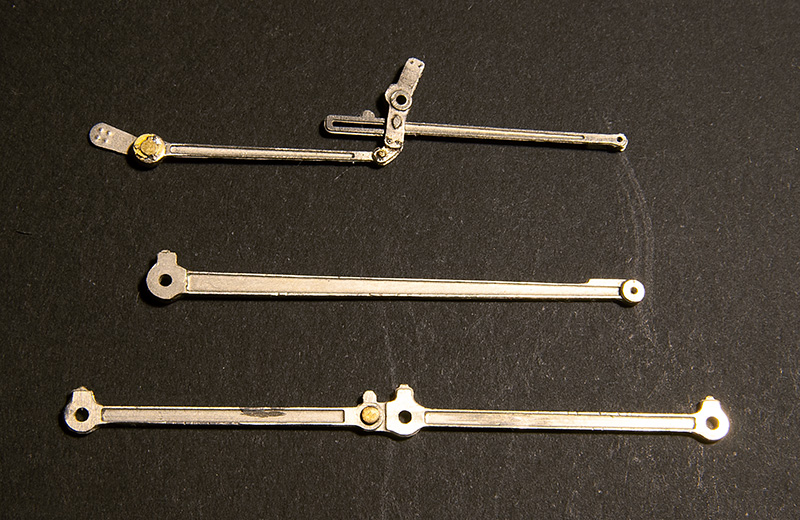
Made a start on the valve gear
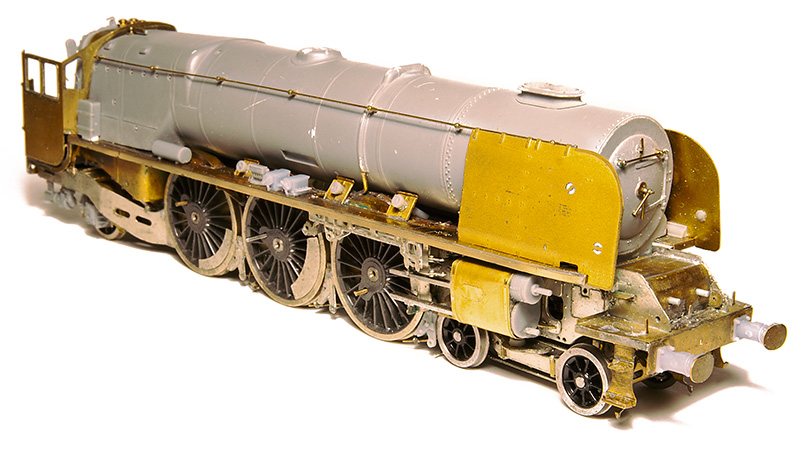
Progress so far.
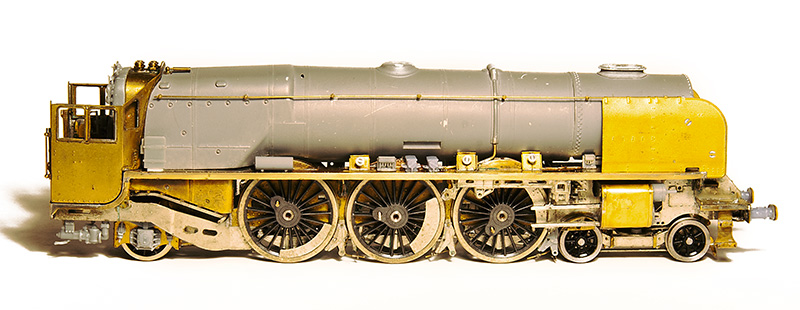
Time for an Update
Its been 10 months since I did an update on the Duchess test build so its probably a little overdue.
The first bit of news, for those who don’t follow the Brassmasters blog is that Geoff Hurley, the original kit designer, sadly passed away at the end of November 2023. He had been with Brassmasters for 20 years and in that time he designed their kits for the rebuilt Royal Scot, the LMS 4F and the Princess Royal as well their detailing kits for LMS locomotives. The Duchess was his last project before he became ill in 2022. I had a hope that I would get it finished and he would be able to see it but alas that wasn’t to be.
This had meant that at lot of head scratching and trying to figure out where the project was has gone on since (not much of it by me I must add). So theres actually been an awful lot of work going on but it may not look like it.
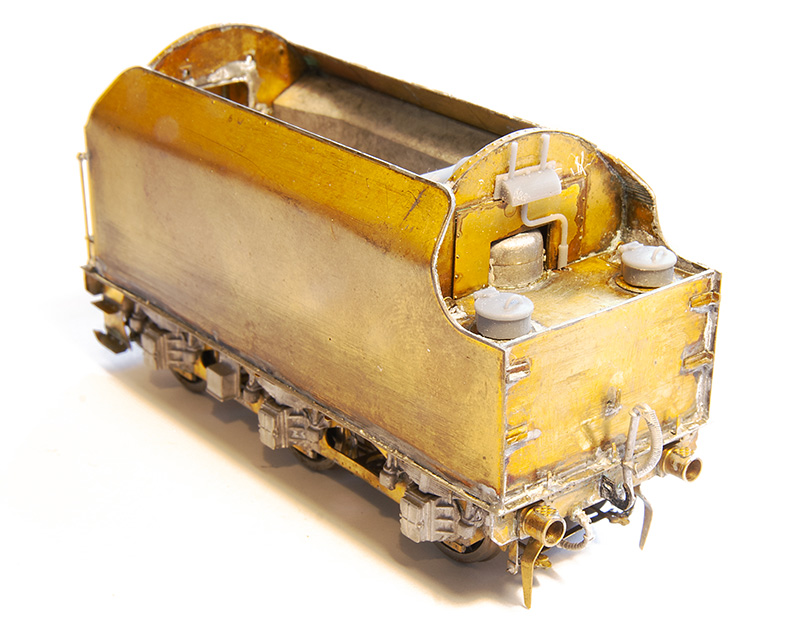
Some new bits for the tender. Originally the water tank hatches were white metal castings but these have been changed to 3d prints produced by David. The external part of the coal pusher is another 3d print.
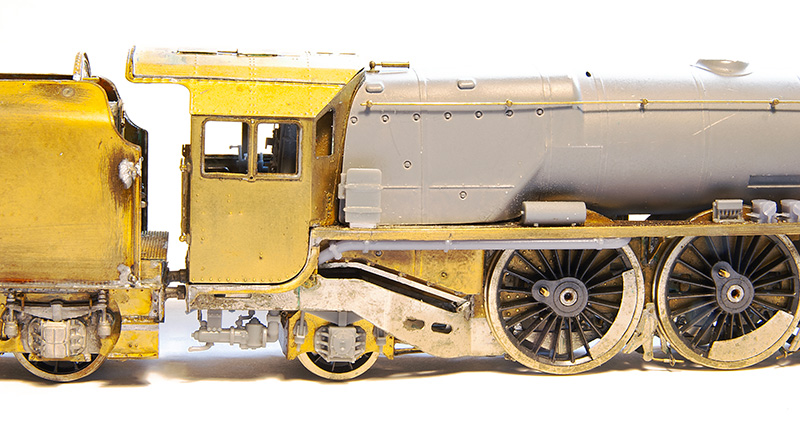
Moving foward the exhauster pipe and the under cab injectors. The latter have been through several versions mainly because of how we were going to mount them to the loco. This latest version seems to have cracked it but has necessitated a slight change to the etched artwork. The cab roof is a loose fit.
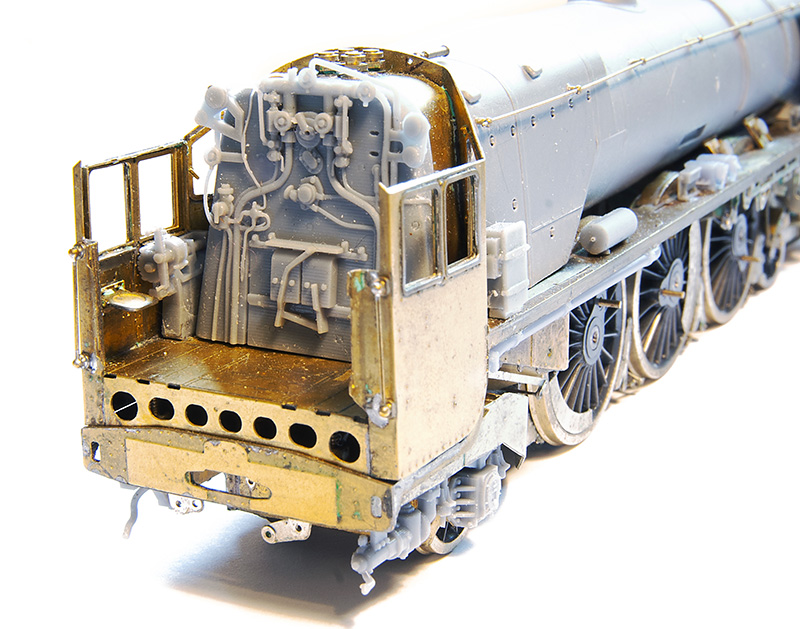 While on the subject of the cab heres some of the inner detail.
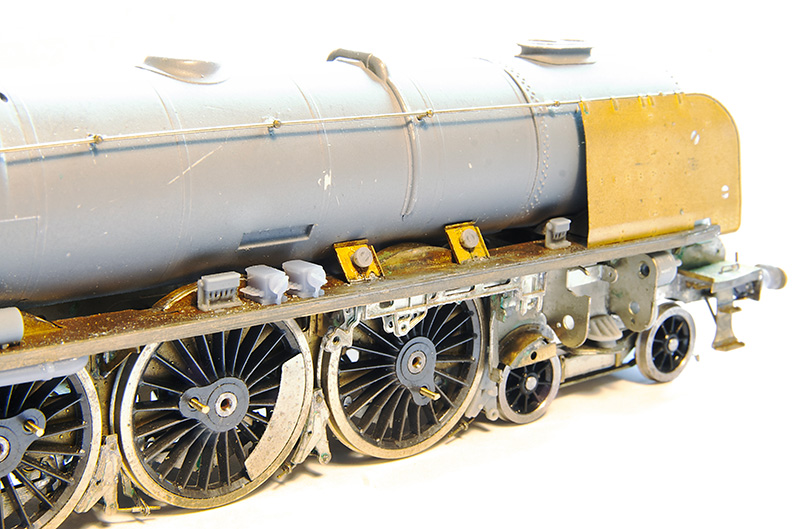
Some of the footplate details in place.
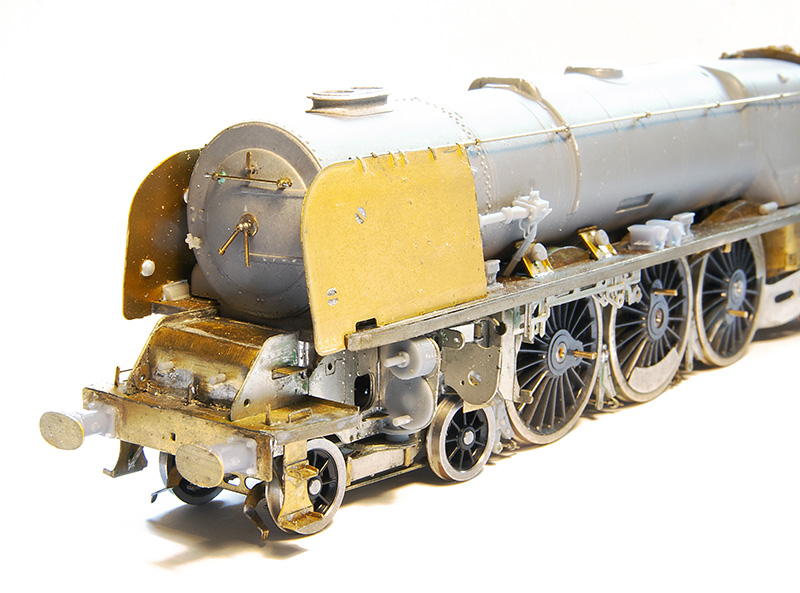
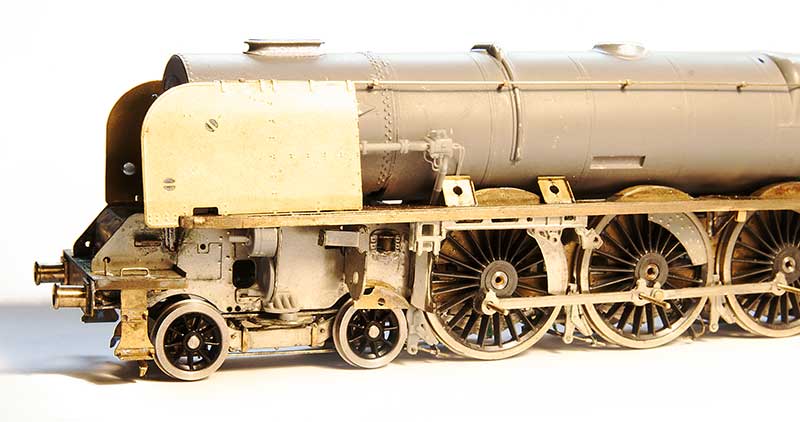
Moving on to the front, with health problems at Markits at the moment and being unable to supply stocks of their oval buffers we have looked at a 3d printed body with an etched head. This allows the buffer to be much more accurately detailed and while it does lose the springing the prototypes were not particularly know for coupling up to trains at this end.
Test prints
Progress on the Princess Coronation build continues with some test 3d prints for some of the details. These are only testing out ideas at this stage.
Above we see the bogie bearing pads and bracket, cylinder fronts, Ejector and brakes.
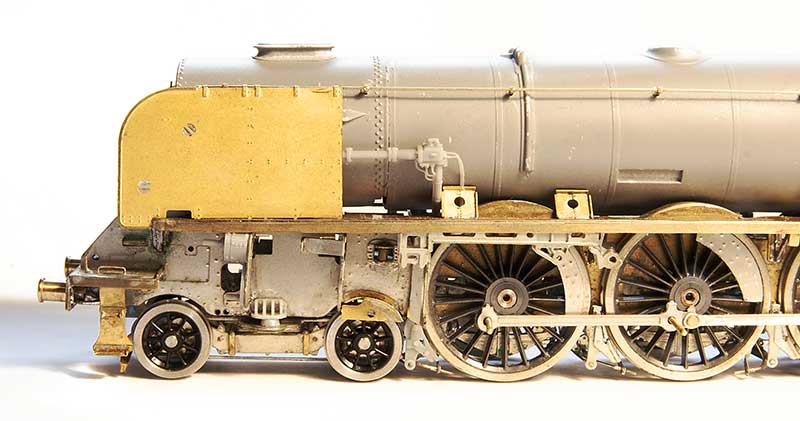
I admit that i had quite a wow! moment when I first saw the ejector. We are exploring the idea of 3d prints for the brake shoes as it allows you to position them closer to the wheels without risking a short. Where the front one squeezes in between the front driving wheel and the rear bogie wheel seems particularly advantageous.
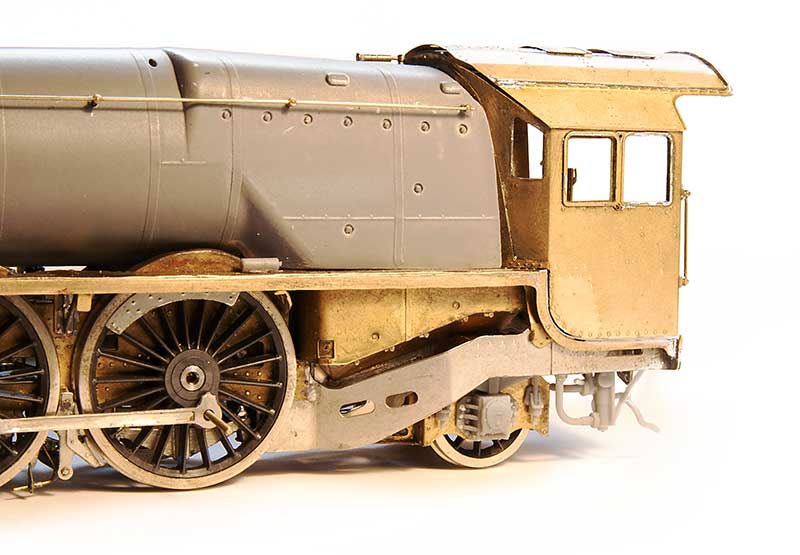 Pony truck axlebox and springs along with some of the under cab pipework. One of the small AWS cylinders can be seen on the footplate
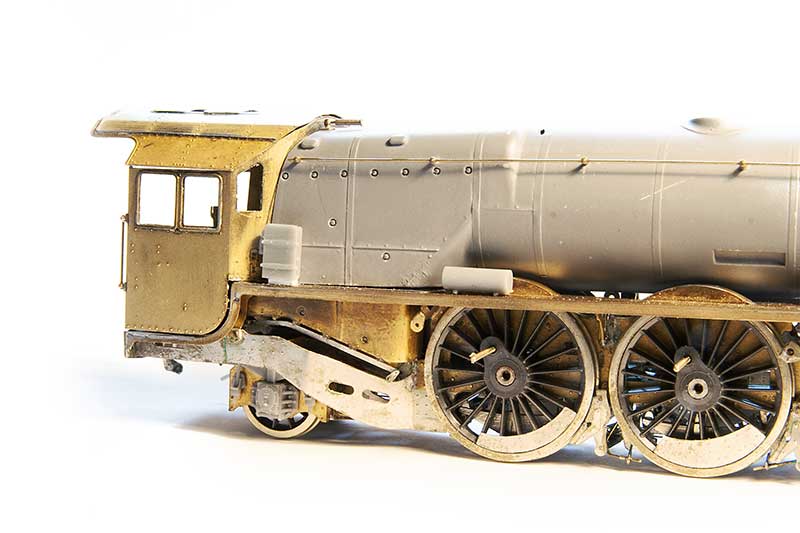
More AWS bits – this time on the firemans side. The roof is still a loose fit at this stage.

State of play so far.
Project Coronation – Body details
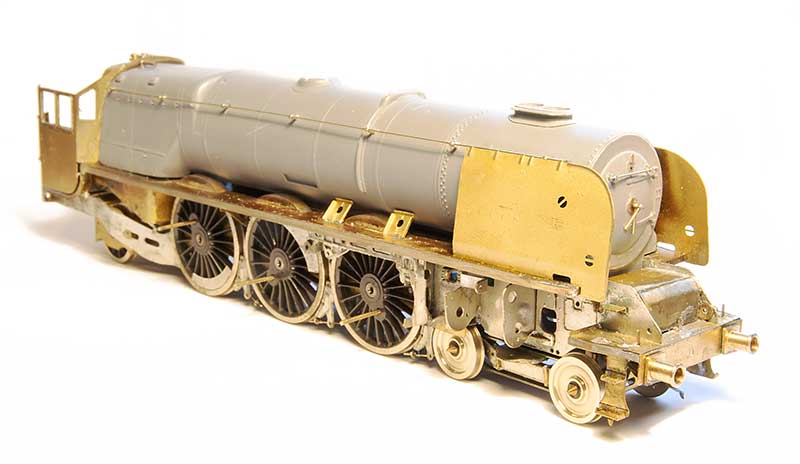 Just a little update this time – Been fitting some of the details to the body. Bogie wheels are temporary as I was doing a little testing (read that as shuffling it around on Brettell Road). I never realised how big these actually are. Right on the limit of the loading gauge!
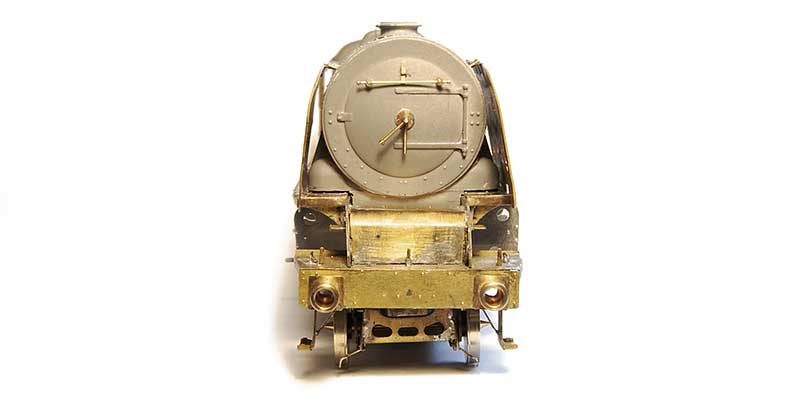
Head on view
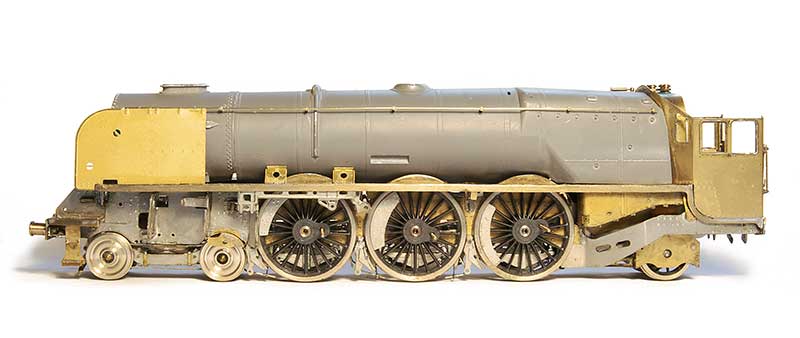
Left hand side. – In addition to the body details Ive also added the sandpipes and springs. The latter in both senses as I’ve fitted the main functional springs to the model as well as the cosmetic ones behind the wheels
Duchess update – Starting to look like a loco now.
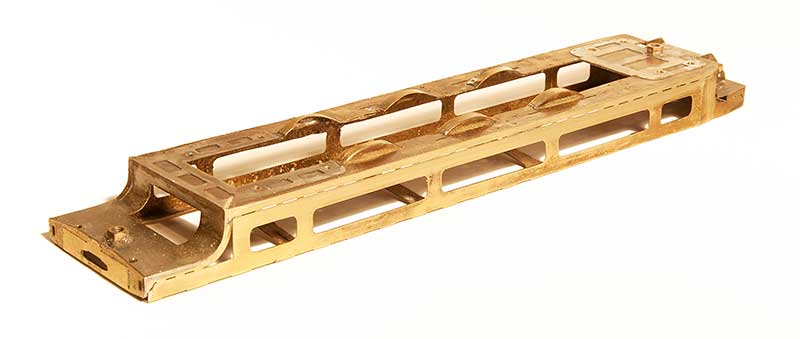
Footplate with mounting bolts and Splashers in place and tided up ready for separating from the jig.
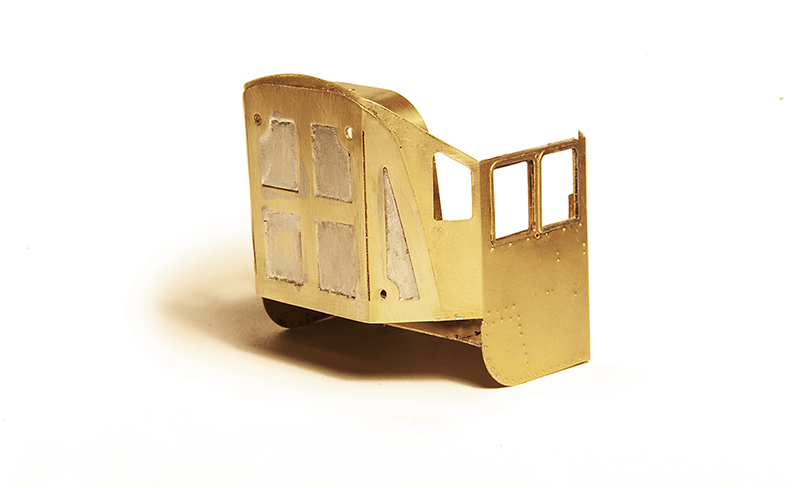 But before I can do that need to fit the cab, firebox, boiler and smoke box so that theres something to give it a degree of rigidity. This is the basic cab assembly.
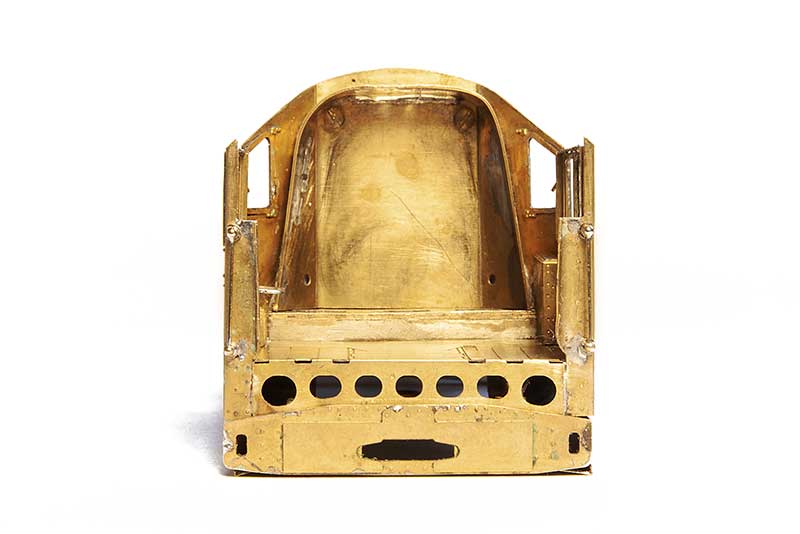 And inside mounted to the footplate. The seats are posable!
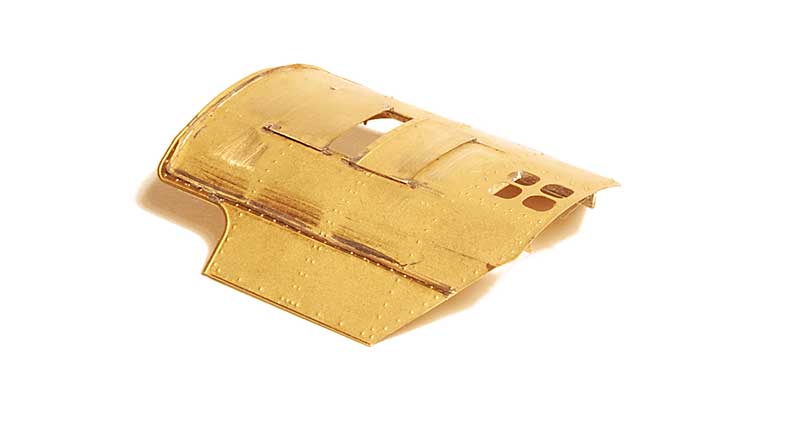
The cab roof. This builds up on its own mini jig too.
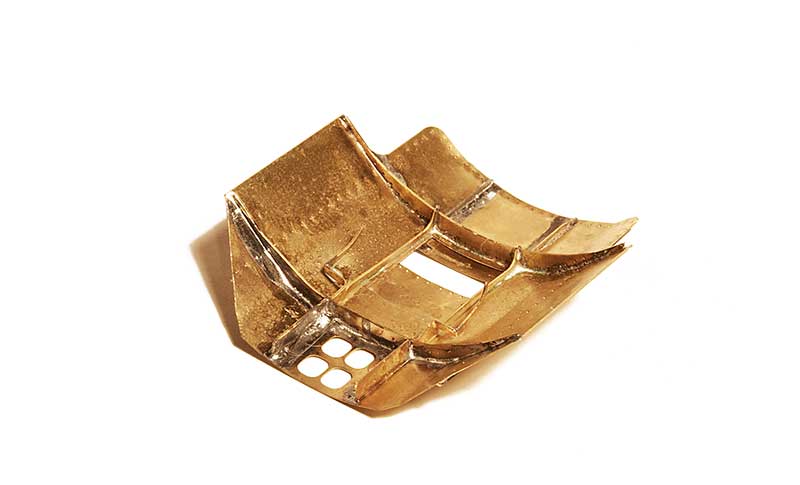
Underside from the front end.
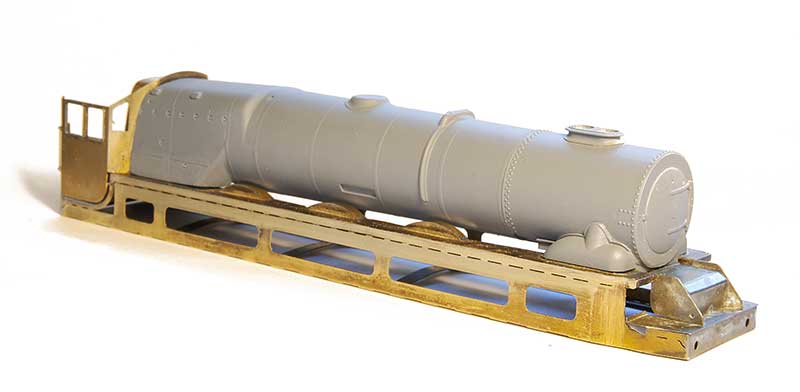
The main super structure comes in 3 parts cast in resin. The firebox and boiler. The smokebox saddle and the smoke box. There are 3 types. A round single chimney. The flattened top double chimney from the ex streamlined locos and a round double chimney as seen here.
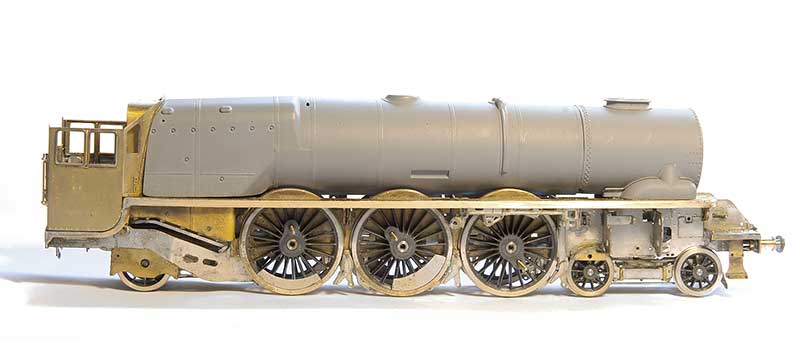
The body removed from the jig, tidied up and fitted to the chassis.
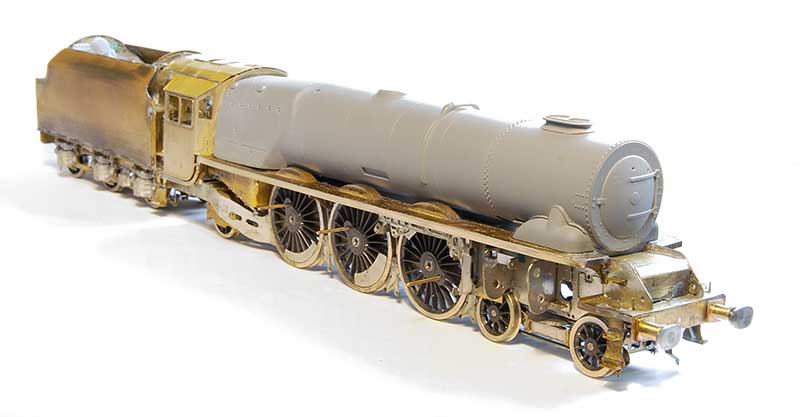 Finally – I couldn’t resist!
Duchess update June 2021
After a longer gap than would have liked attention had returned to my Duchess build.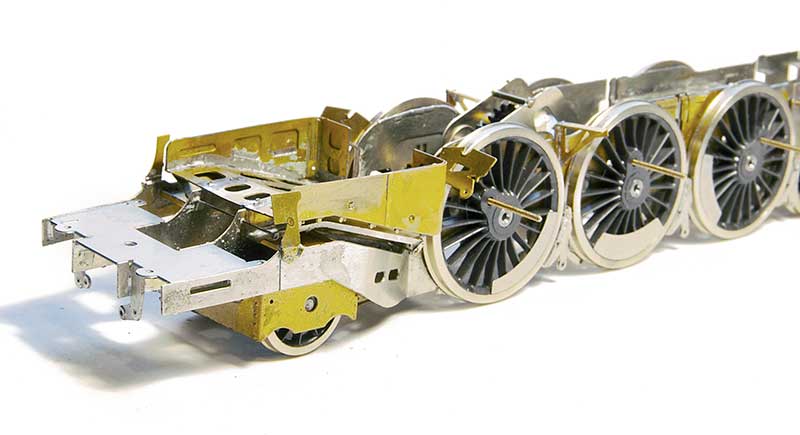 Starting with the lower firebox and damper operating rod.
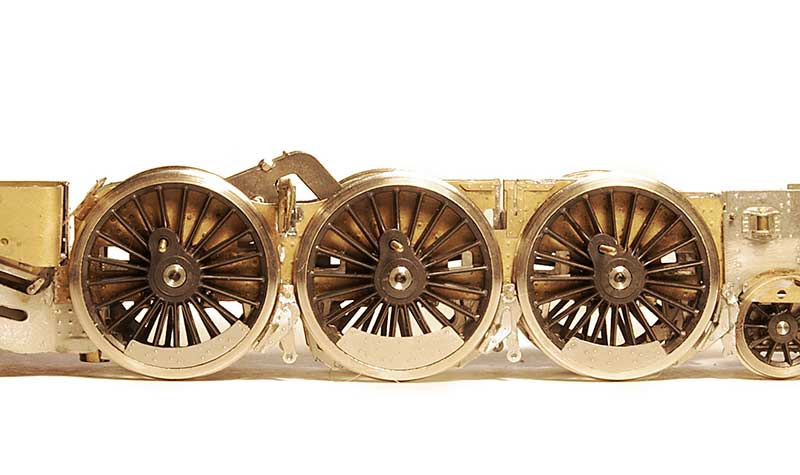 Next up the brakes. As can be seen clearance is kind of on the minimal side. Theres no springs fitted yet either so the chassis will sit a little higher than is seen here.
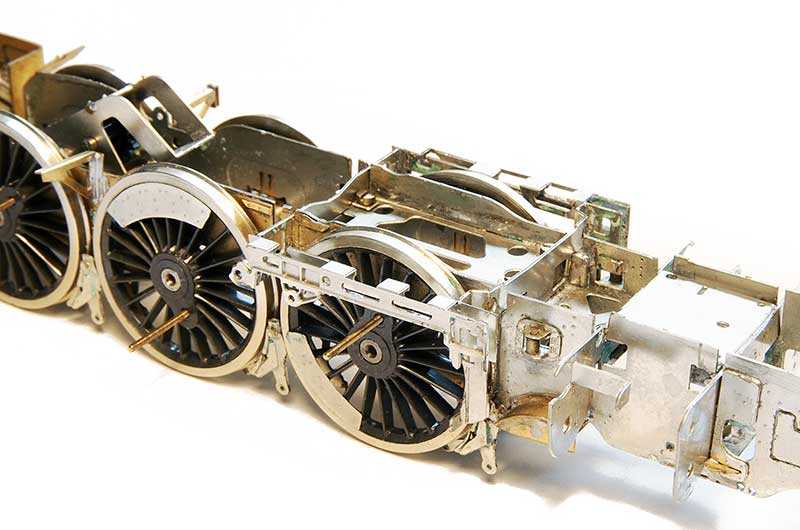 The motion brackets. Again theres not a lot of clearance between the bracket and the leading driving wheel.

The chassis so far.
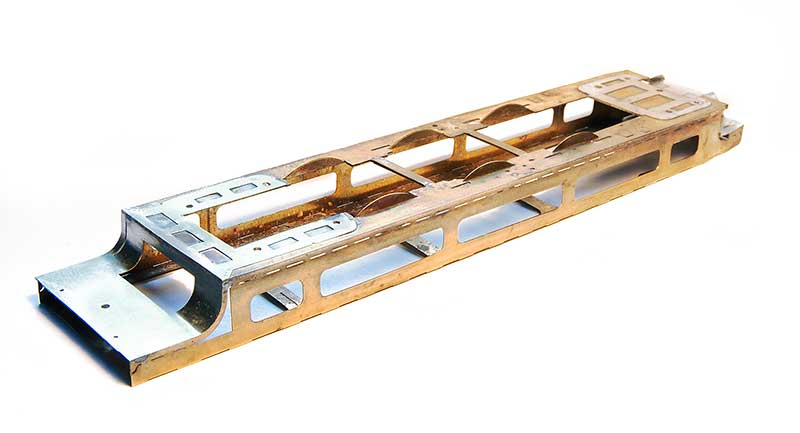 Moving on the next stage is the footplate Seen here in its assembly jig.
Project Coronation – Tender part 4

Progress on my tender build continues. This is the front end with some of the detail started.

And the rear end.

Inside showing the fire iron tunnel and and the coal pusher which is a 3d print.
Below are the some images of the tender in its nearly complete state. There’s still a few bits I need such as the ladder etc but focus will now shift back to the loco.


Project Coronation – Tender part 3
Moving on to the tender body…

Brassmasters supply a basic sub structure with different overlays for the 3 main types of tender found behind a Duchess.


This is the coal shute and front bulkhead assembly.

The 2 sub assemblies test fitted together.
Project Coronation – Tender part 2
The tender chassis is now effectively done – Not a lot else to say really so here’s some pictures.

Right hand side

Rear end

Front, or loco end.
Project Coronation – Tender part 1
I’ve moved away from the loco for a while as the next stage of the build is the cylinders and I don’t have the castings i will need for them just yet. So attention has shifted to the tender.

The first stage is the outside sub frames – a simple box really. The kit allows for springing or internal compensation. I’ve opted for springing.


Underside of the tender showing the sub frame, brake gear and water scoop gear. A little fiddly but its been fun to build so far.

Project Coronation – loco chassis, part 2
So progress continues on my Coronation build.

The front frame is as far as I can go for the moment. (I don’t have the cast bits for the loco yet. If you are wondering about the cylinders they are a separate sub assembly.

No problems with the pony truck so far. The kit provides for both the earlier and later types. This is the later one.

The bogie is compensated. As the bogie is the only part of the loco that traps the wheels in place I have used some old/rejected wagon wheels for the moment. I ideally only want to put wheels onto the axle once if I can.

Without the wheels in the way.

I couldn’t resist a temporary mock up to see get a better feel for the loco. I’ve used a High Level Road runner + gearbox. The main drivers don’t have their springs in place yet so its sitting a little off at the moment.

Project Coronation – loco chassis, part 1
I am currently embarked on building a test build of the forthcoming Brassmasters Coronation or Duchess kit. Way before I got distracted with Brettell Road I always thought that if Brassmasters ever did a Duchess i would have a go at building one as 46235 ‘City of Birmingham’. Well now they are and so I am!
Of course its a personal opinion thing but I never really liked streamlined steam locos. While the Duchesses were a little more thoughtfully designed than the god awful GWR efforts I always thought they looked a bit like an upturned bath tub and have to admit the A4’s did look a fair bit better. However with the streamlining taken off the Duchesses were ‘it’. The steam locomotive version of the Concorde moment. To my eyes, at least, the pinnacle of steam loco perfection.
Anyway enough hero worship and on to the model. Starting with…

The main sub-frames. The loco frames come in 3 sub sections related to the wheels. A driving wheel section, a pony truck section and a bogie section.

The chassis upside down, test fitting the main coupling rods.

The main frame with the brass overlays fitted.

The front or bogie area sub-frame.
More to follow.
