With the bodies assembled they were washed and then given a quick coat of primer to see where any joints needed further work before detailing could begin.

The DMBS requires the most work but common to both vehicles I added the door hinges that had been lost in the cut and shut process or the reshaping of the tumblehome (it’s easier to remove the hinges and add them back in later than to try to work around them). Hornby’s moulding of the door lines is far to delicate so these were scribed back in and new roof vents added (from MJT). On the DMBS a hole was cut for the grill on the side and a cut down grill from Hurst models added. The frame is 10×30 thou microstrip glued in place, left to harden and then sanded down to about half its thickness. The surround was then carefully cut to about half its width and the excess removed. The guards doors are the wrong way round for this side only so the details were removed, the window filled in and a new one cut.
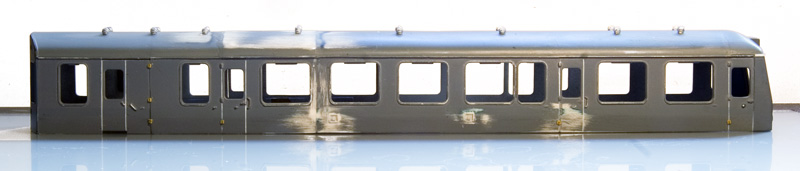
The other side is easier with just 2 fillers to add. These were drilled as a 2mm hole and files square. The surrounds are the same as the grill on the other side this time cut down to about 1 third of their width. The DTS is a lot simpler although some (not all) have the same grill as the DMBS in the same place. As always a picture of the actual vehicle you want to do in the time frame you want to do it is essential.
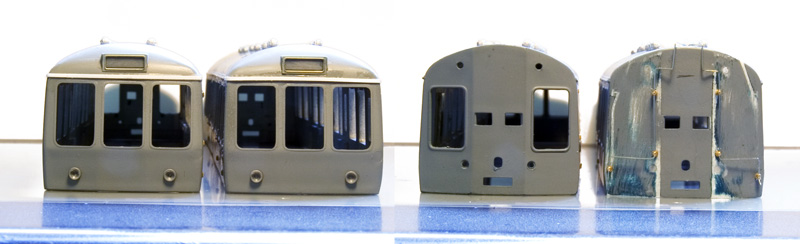 The cabs had a new rainstrip added (the dc kits one is too fine) and destination box fronts from my own etches. The headlights are drilled out as I think this looks better. Trick here is to drill a fine hole first as near as you can to the center then open up with a 2mm drill. No work is needed on the inner end of the DMBS but the DTS needed the (somewhat elaborate) toilet fillers added.