
The Stove R
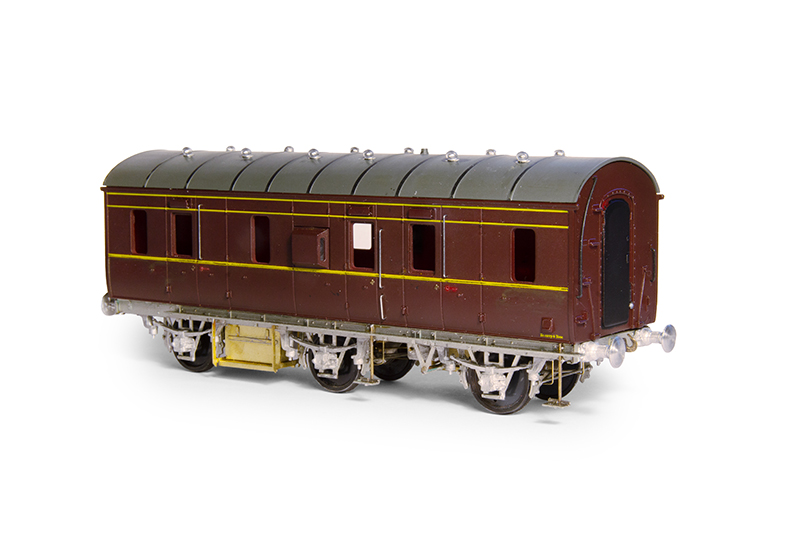 Picking up from last time and starting with the Stove R body. The Dapol body is a bit off. It’s kind of a mish-mash of diagrams but there are images out there that do match it. The guards door on one side has hinges on both sides which is a little weird and the large handles are moulded horizontally when the should be angled downwards at about 45 degrees. I replaced the roof vents a filed the roof ribs down a little. There’s a picture of M 33011 M at New Street in David Larkins BR Parcels and Passenger-Rated Stock, volume 1 that shows the vehicle with one odd roof vent so I copied that.
Where the model does have a bit more of a problem is the body is overwide by about 1.5mm. More about that in a moment.
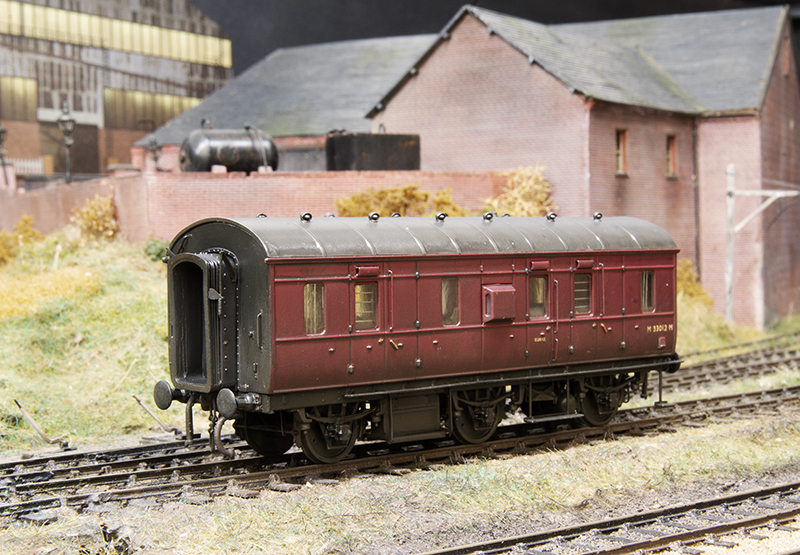 The finished van. I replaced the windows as the way Dapol had mouled the safety bars didn’t seem to match what I was seeing in prototype images. I also cut up the gangways in 3 places (Not all the way through just to the bottom of the upper curves) then clamped and glued them to give a bit of a droopy look to them. As the model with run with the Palethorpes vans I didn’t do anything about the width as standard coaching stock is wider than the palethorpes vans anyway.
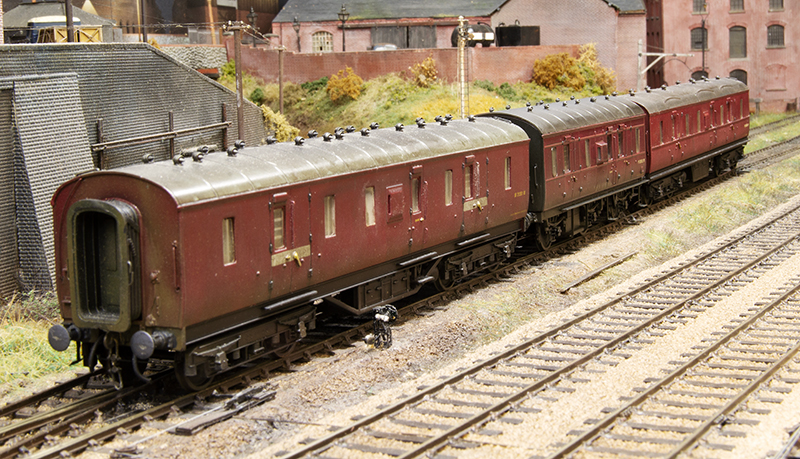 If you plan to run the van with other coaches then that might be a problem. The above image shows the van sandwiched between 2 Mainline BG’s and I’ll leave it to judge for yourself if this looks OK or not. Options are to cut the body and roof in half and glue it back together. This will affect the way the body fits to the floor of the underframe although I suspect you will need to modify the underframe anyway. Comet models do a kit if you fancy it or another option might be to cut and shut a BG body as they are cheap and in plentiful supply. I actually have a spare one lying around and to be honest that’s an idea I’m already kind of regretting having!
The Palethorpes Van
 When I did my LMS version of a Palethorpes van I cut and shut 2 bodies as pictured above to get it the right length and preserve the doors. However on the GWR van the doors are different enough to not worry about that sort of thing.
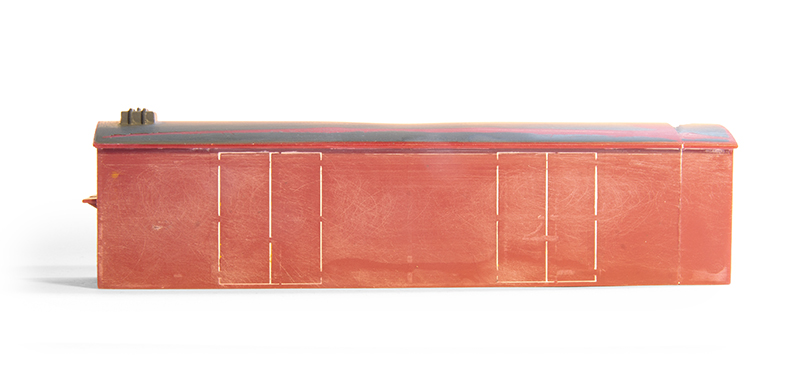 So a spare end from the earlier project (see never throw anything away!) was added to the one end as can be seen on the right. All of the detail sanded off and the original door lines filled in.
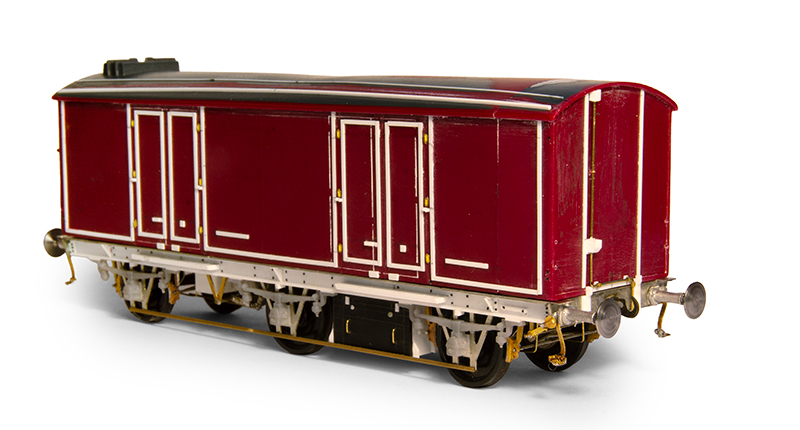
The new details from 10 thou microstrip. Still to add are the handrails, door locks and few other details.
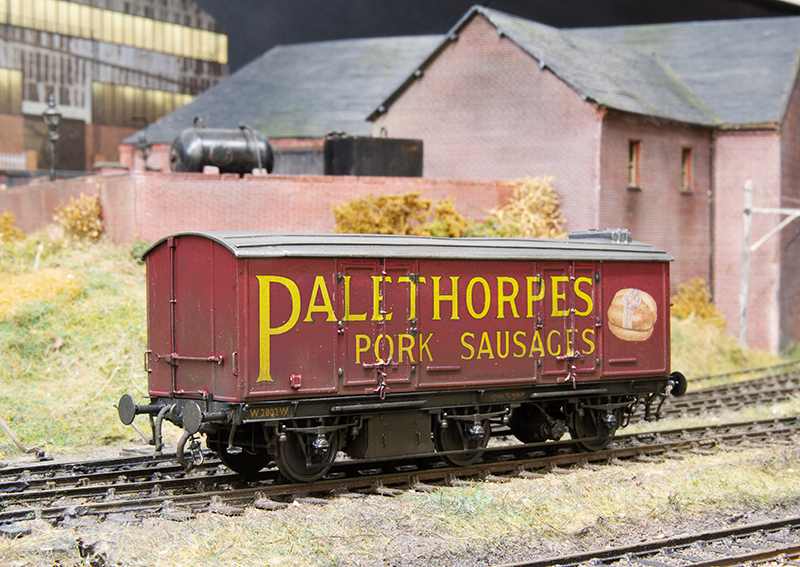 The finished van.
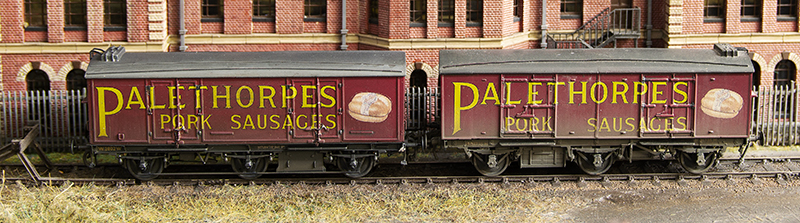 Another comparison picture – GWR build on the left, LMS build on the right.
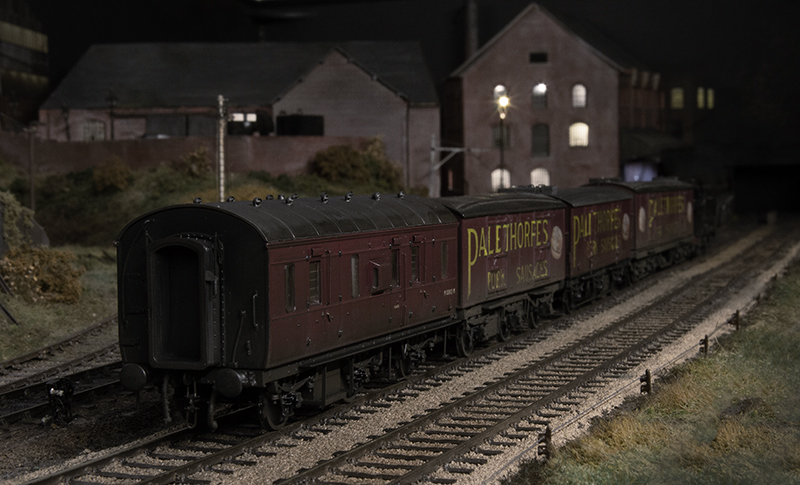 Heading back to Tipton. A tail lamp will be added in due course.